Adding 3D Objects to a Model
Introduction to Adding 3D Objects
There are several different methods you can use to add 3D objects to your model. You can:
- Drag and drop 3D objects from the Library
- Use the Quick Library to add object directly inside the simulation model
- Turn on Create Objects mode
The method you decide to use is largely a matter a personal preference. Try experimenting with each method to determine which you prefer. Each of these methods will be explained in more detail in the following sections.
Drag and Drop from the Library
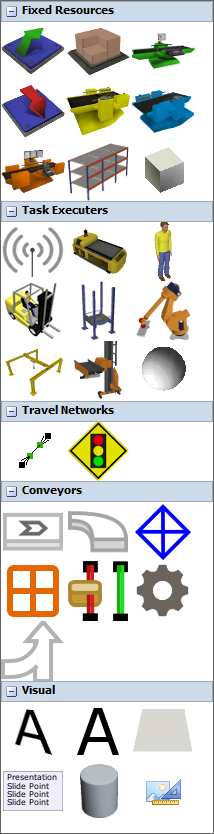
One common way to add 3D objects is to drag and drop them from the Library. To use this method:
- Make sure the 3D model is active and that the left pane is open to the Library (not the Toolbox).
- Drag an object from the Library to the 3D model.
Use the Quick Library
Another method is to add 3D objects using the Quick Library, which is a condensed menu of the most commonly used 3D objects:
To add an object using the Quick Library:
- Double-click a blank space in the 3D model to open the Quick Library.
- Click the icon for the activity you want to add.

Use Create Objects Mode
Another method for adding 3D objects is to to turn on Create Objects mode. This method is particularly useful if you want to add multiple objects of the same type at one time. For example, if you wanted to add five processors to your model at the same time, it would be best to use the Create Objects mode. To turn on Create Objects mode:
- Click the object you want to add in the Library (without dragging the object or
holding the mouse button after clicking). Your mouse pointer will change to the Create
Objects icon
 to show that you are in Create
Objects mode.
to show that you are in Create
Objects mode. - Click a blank space in the 3D model to add the object.
- Continue to click blank spaces in the model to add any additional objects.
- Press the Esc key or right-click in the model to turn off Create Objects mode.