Getting Started with OpenAI Gym
Getting Started
To get started with reinforcement learning using FlexSim, we're going to use Python scripts that demonstrate how to communicate with FlexSim from a reinforcement learning algorithm. Reinforcement learning algorithms can be written in any programming language, and you can communicate with FlexSim using whatever language and tools you want. For our examples here, we will be using example code written in Python using the OpenAI Gym toolkit and the Stable-Baselines3 implementations of reinforcement learning algorithms. You are welcome to customize the provided example code to suit the needs of your own projects or implement the same type of communication protocol using another language, library, package, or implementation.
- Start by downloading flexsim_reinforcement_learning.zip.
This zipped archive contains three python scripts:
- flexsim_env.py The FlexSimEnv class, which is a subclass of gym.Env, implementing its custom environment interface. This class has methods and properties that can launch and communicate with FlexSim using sockets.
- flexsim_training.py A single main() method showing an example of using the FlexSimEnv class to train a stable_baselines3 reinforcement learning algorithm, save the trained model, and evaluate the trained model using a direct connection to the FlexSim environment.
- flexsim_inference.py A FlexSimInferenceServer class, which is a subclass of BaseHTTPRequestHandler, implementing methods for handling HTTP requests. The main() method shows an example of loading the trained model that was saved during training, and hosting an HTTP server that can use the trained model to provide an action given an observation of the system. This is a simple example for demonstration purposes and not recommended for production. You should implement a more secure server for live systems.
Configuring a Python Development Environment
The Python scripts above contain dependencies on other Python packages and modules that aren't part of the standard library. To manage different Python versions and package dependencies, you can use an integrated development environment (IDE) software package such as Visual Studio Code, Visual Studio, or Anaconda to configure virtual environments to organize and run Python scripts. For simplicity in our examples, we will use Visual Studio Code, but it is not strictly required. You can install the dependent packages, modify the scripts, and run them using another IDE if desired.
Different versions of Visual Studio Code (VS Code) may be slightly different than the provided screenshots, but the general steps should be similar regardless of the specific IDE you are using.
- Download and install VS Code, its Python extension, and Python 3 by following Visual Studio Code's python tutorial.
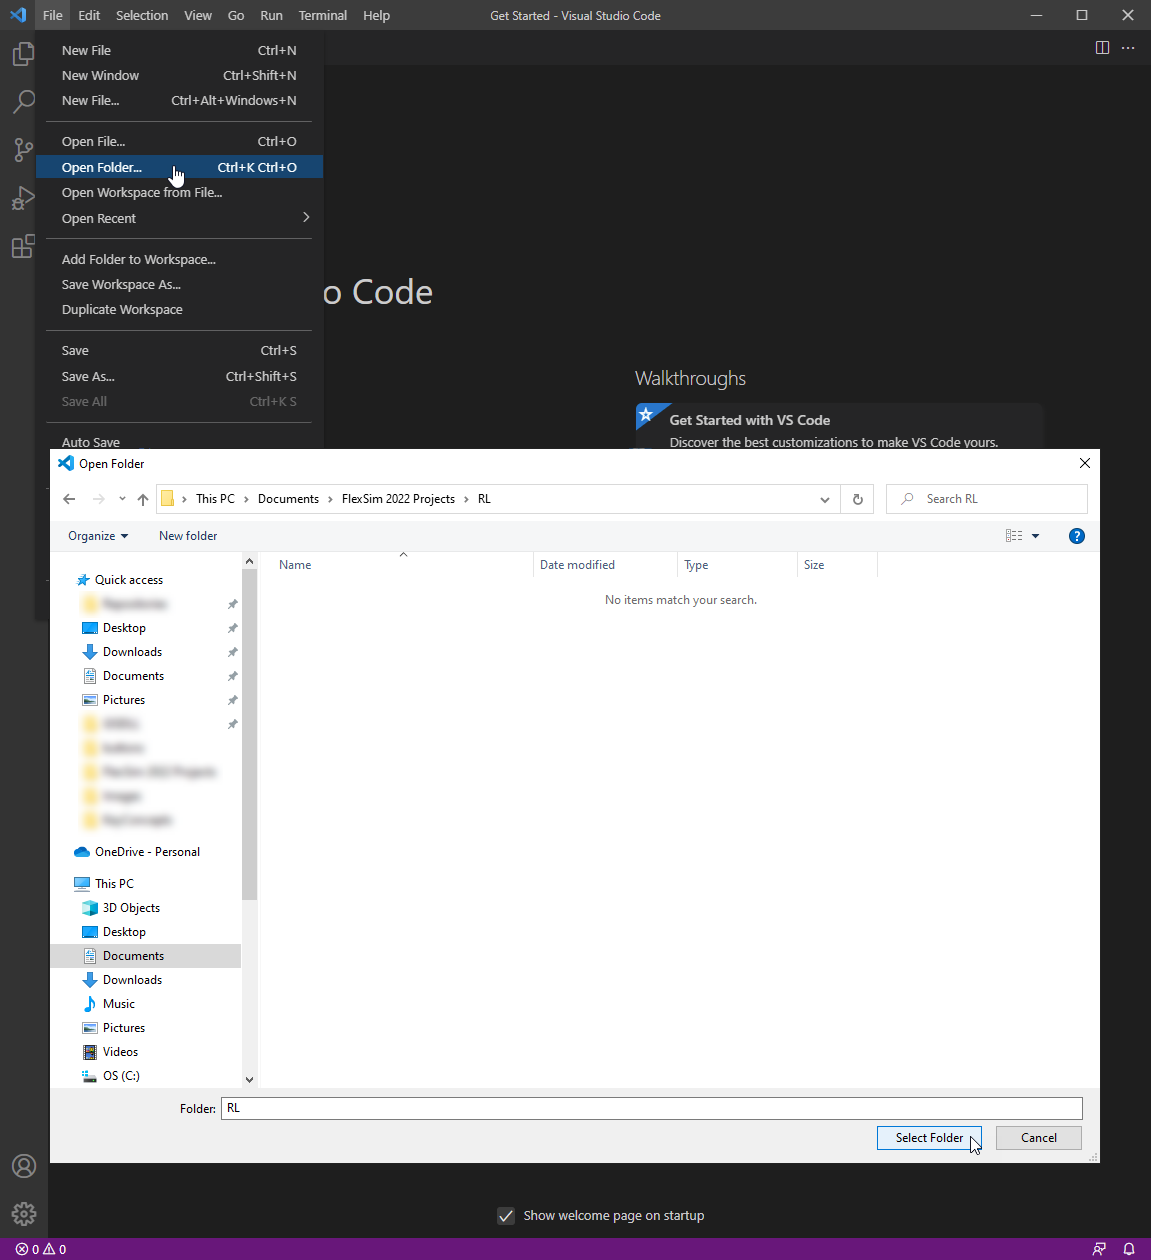
- Create a folder for RL Python development (such as Documents/FlexSim 2022 Projects/RL) and open it with VS Code.
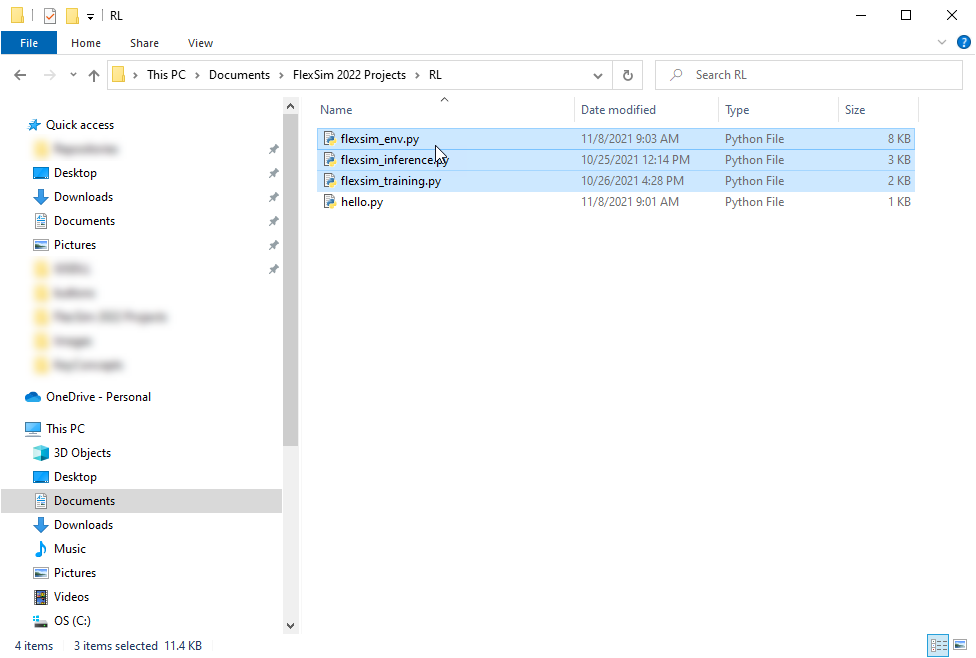
- Extract and copy the python scripts above into the folder.
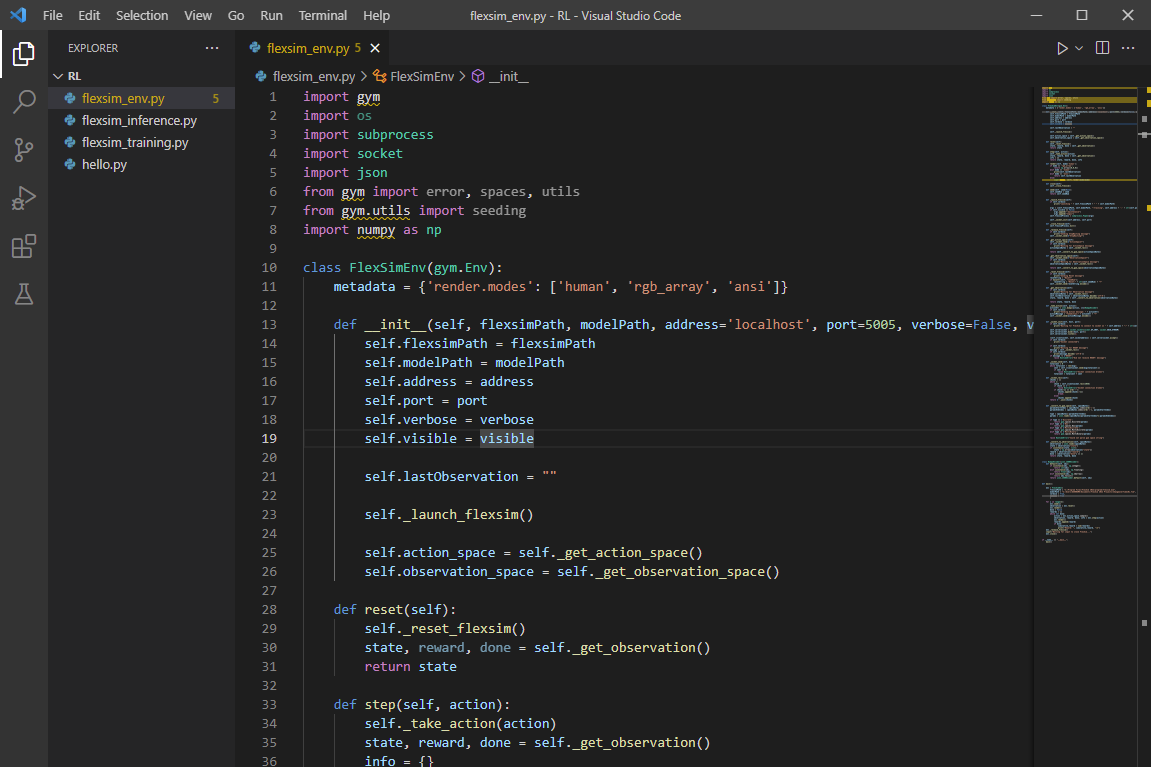
- In the Explorer pane, double-click flexsim_env.py to open it.
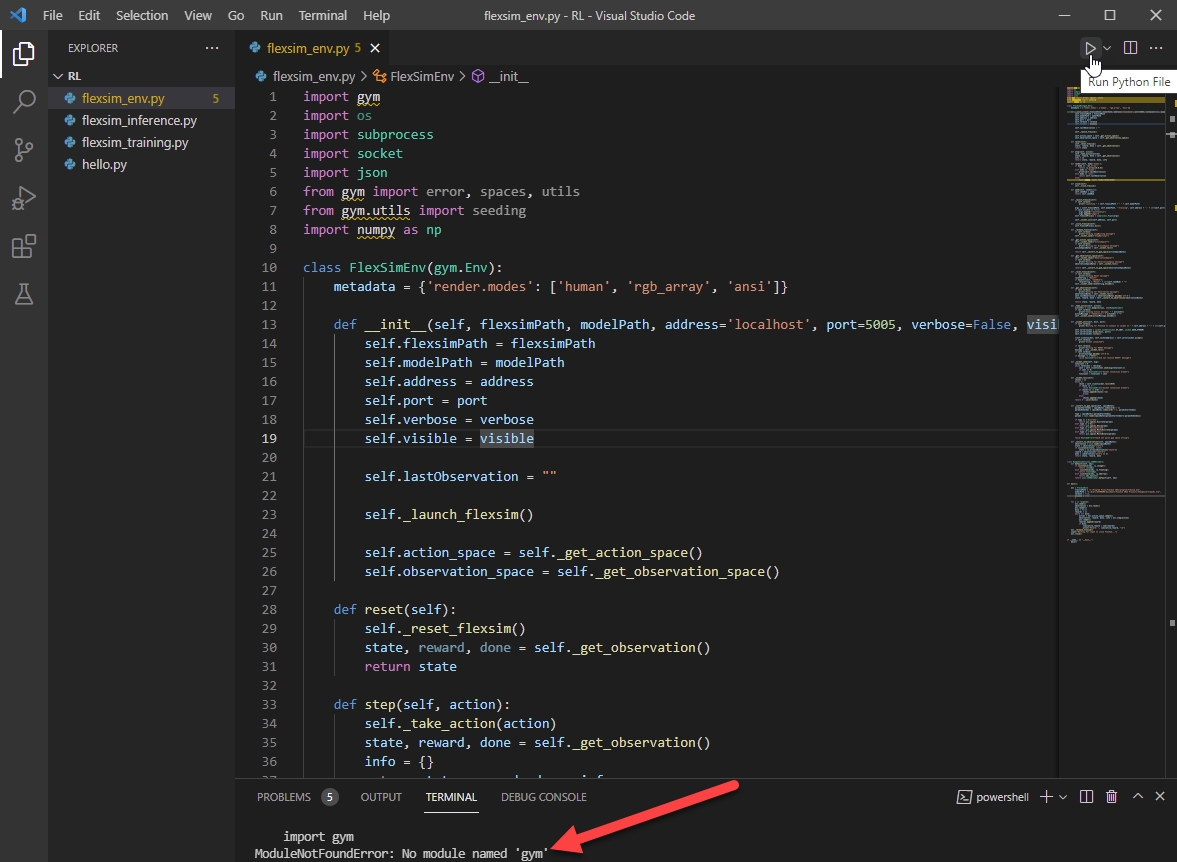
- Try running the script by pressing the Run Python File button at the top. You should get errors about missing packages, such as "No module named 'gym'":
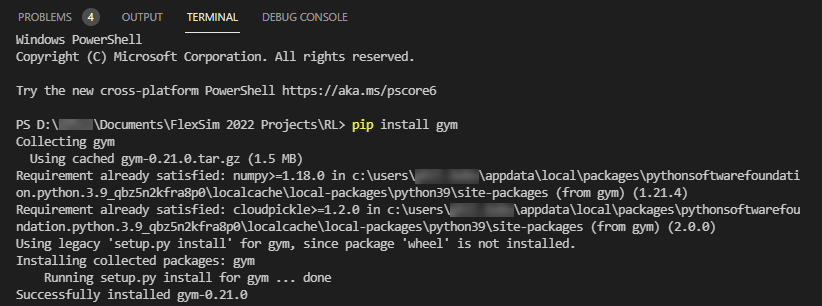
- To fix missing packages errors, use the Terminal pane to install the missing packages. Type the command "pip install gym" (without the quotes) into the Terminal window and press Enter.
- Installing gym should also have installed other dependencies, such as numpy. If it did not, install any other missing dependencies.
- Once your Python development environment is configured, you are ready to begin training.
Also configure the Python interpreter and debugger as described in the tutorial.
Optionally, you may want to configure a virtual environment to manage installed python packages. The custom packages we will use are gym and stable-baselines3.
Be sure that you are using the correct Python interpreter and environment. If you still get errors about missing packages after installing them, then you may be installing the packages to a different environment than you are using to run the script. See the tutorial above for more information about virtual environments and managing Python packages with VS Code.