Visio Importer
Overview and Key Concepts
The Visio import tool allows you to build models in Microsoft Visio™ and import them into FlexSim.
The Visio Importer can be accessed from the Toolbox.
Tutorial
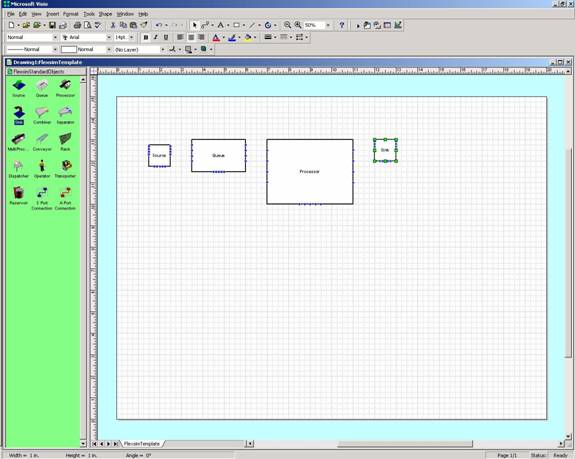
Start Visio.
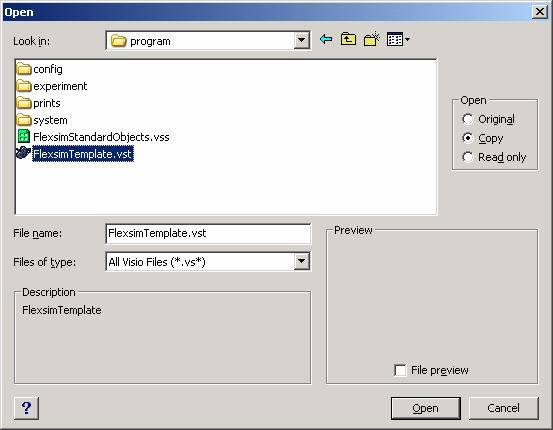
Open the FlexsimTemplate.vst
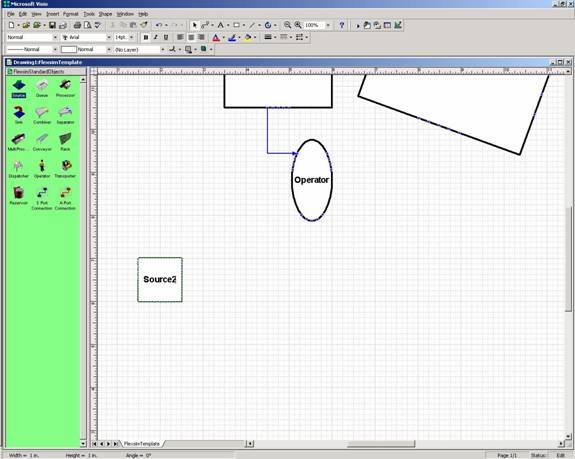
Visio will look like this.
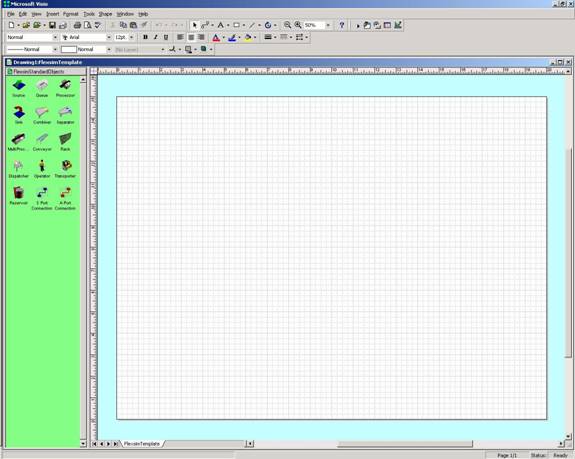
Drag objects from the Stencil into the model space to arrange their layout.
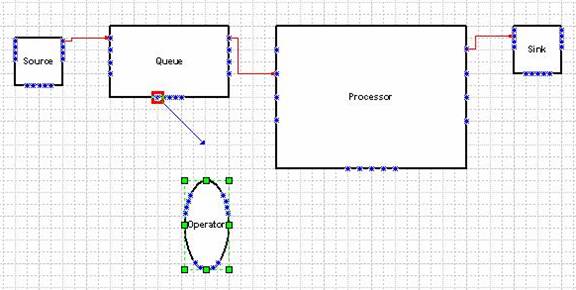
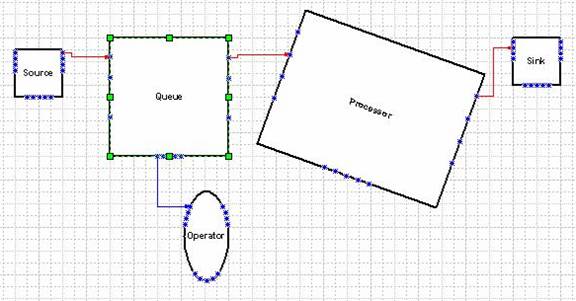
Drag the A Port Connection object into the model to create a connection.
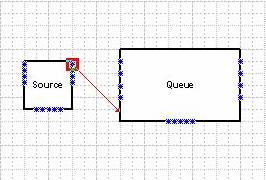
The connection is made from the upper left point to the bottom right point. If you hook the connection backwards, the connection will be backwards in FlexSim.
This is a connection that is only connected to the upstream object.
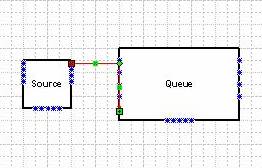

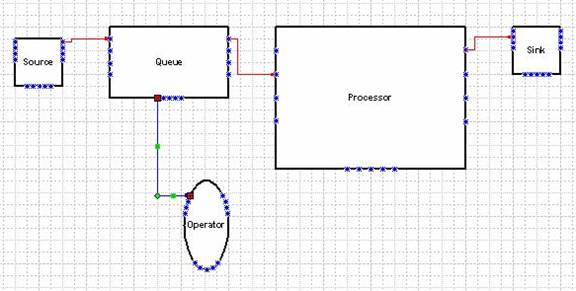
When dragging out a connection, it is acceptable to have both ends touching blue connection points. The connection will be created correctly. Also, the connection point that you connect them to in Visio does not matter. FlexSim connections will be ordered according to the order in which they were dragged out in Visio. The example below will connect queue to processor's first input port despite being connected to the second connection point on the object in Visio.
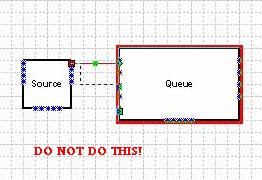
S port connections (center ports) are created in the same way as A port connections. The connection point in Visio that they are connected to does not make a difference in their order. Connecting S port connections to the blue connection points on the left and right is acceptable.
Objects can be rotated and resized from Visio to resize and rotate objects in FlexSim.
The rotation tool in Visio looks like this.

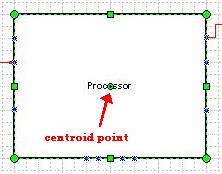
Do not move the centroid point of the object when resizing. The centroid point is the green circle with a black point in its middle. It is used to define where the center of rotation is for that object. If you move it in Visio, the object will not be located correctly in FlexSim.
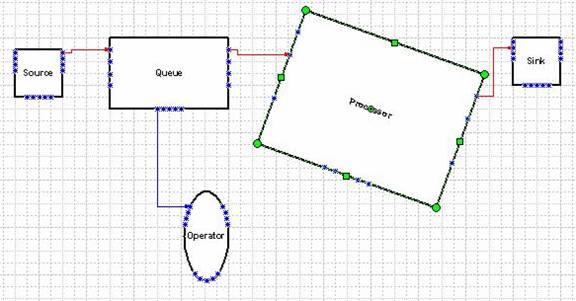
This processor was rotated by clicking and dragging the rotation tool around one of its corner points.
This queue has been resized by dragging its side point down using the selection tool
 .
.
Objects can be renamed by double clicking on the object and typing in a new name.
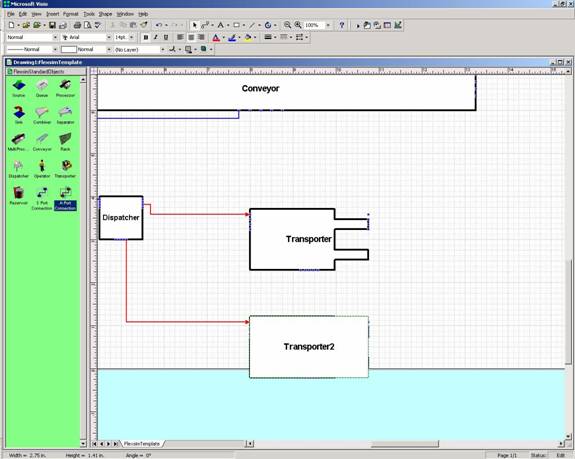
Each object in your model must have a unique name in order for it to be correctly imported into FlexSim. If objects are given the same name in Visio, their connections will not be created correctly in FlexSim. In the example below, the Transporters have the same name, so the Dispatcher was connected to the first one twice.
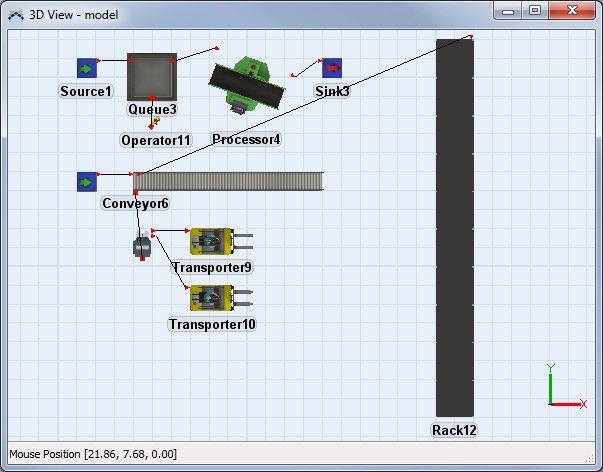
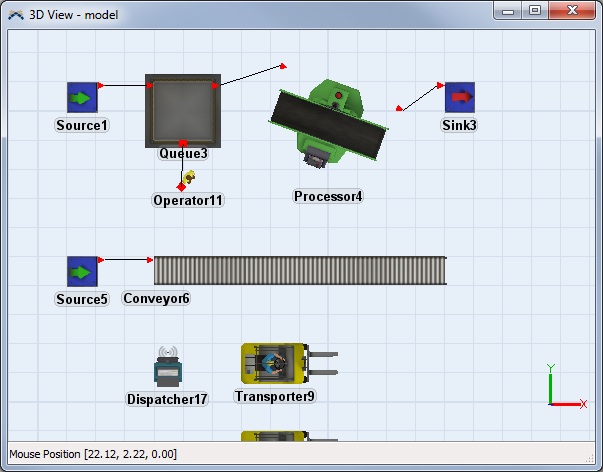
Here is a nearly completed Visio page with a FlexSim layout.
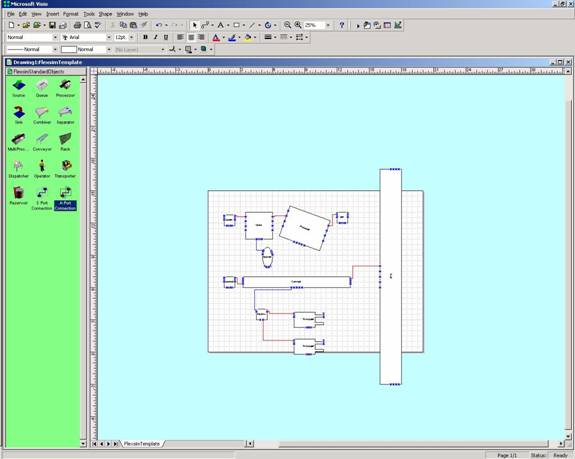
There are a few more things to check to be sure are correct before exporting it to Excel to import into FlexSim.
Be sure each object has a unique name.
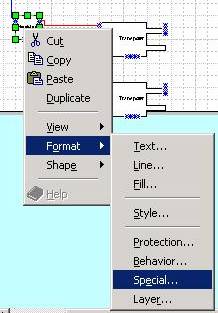
And each object must be correctly formatted in this menu.
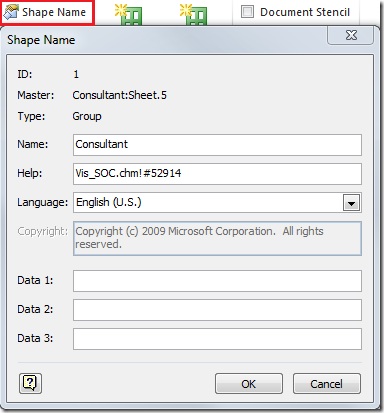
In Visio 2010 this dialog box has been renamed "Shape Name" as seen in the picture below:
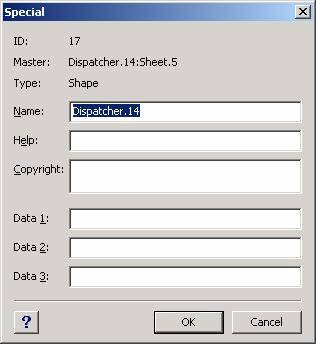
The Name field contains the object's class and a number separated by a period or just the object's class. If there is a number, it must match the ID number or the object will not be correctly exported. Typically the objects do this naturally, but sometimes Visio will incorrectly name an object in this field. If your model didn't correctly import into FlexSim, this was probably the reason why. The example below shows what happens if the name is left as "Dispatcher.14" instead of changed to "Dispatcher.17".
Now that everything has a unique name, and is correctly named in the Special Format, we are ready to export.
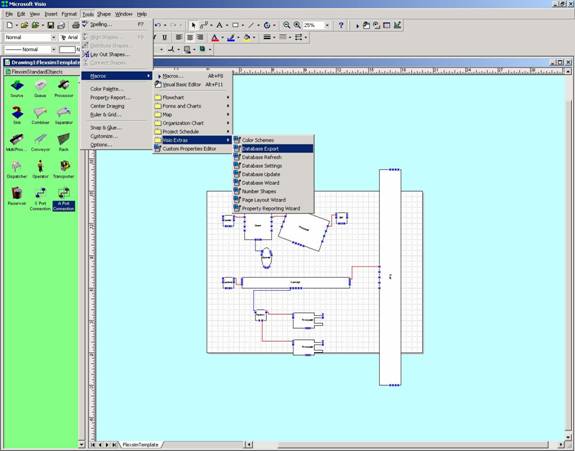
Go to the Tools, then Macros, then Visio Extras, then Database Export to export the file.
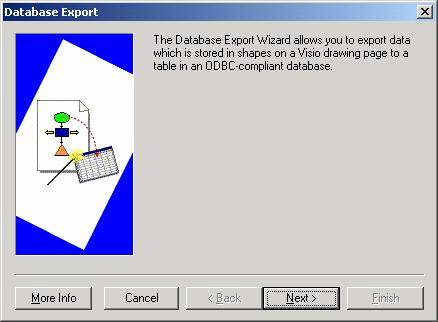
This screen will appear. Click next.
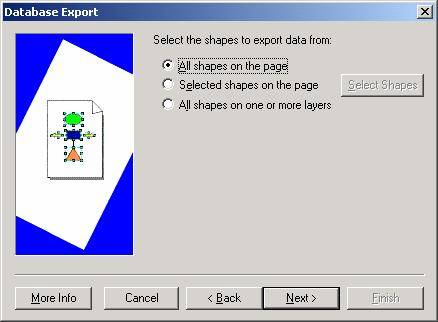
Select "All shapes on the page" and click Next.
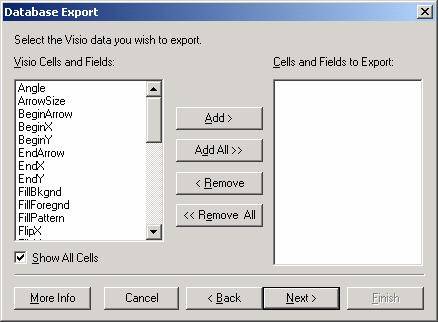
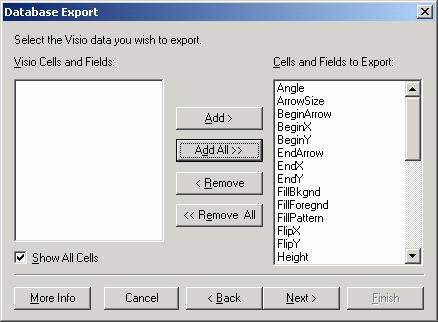
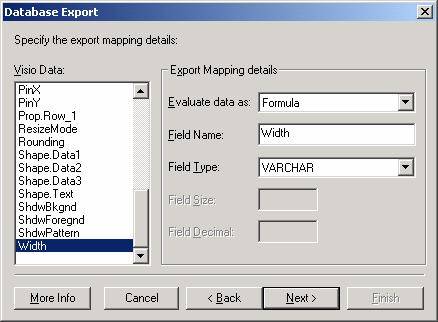
Click the "Add All >>" button to get all the correct information exported.
Then click Next.
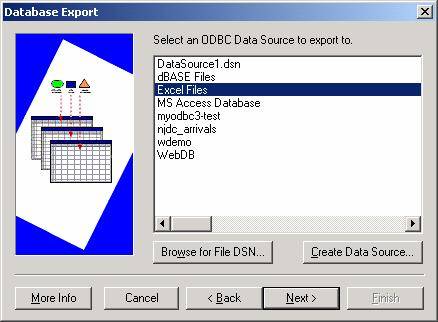
Select Excel Files and click Next.
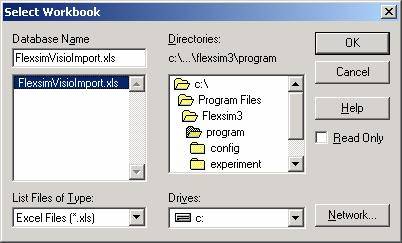
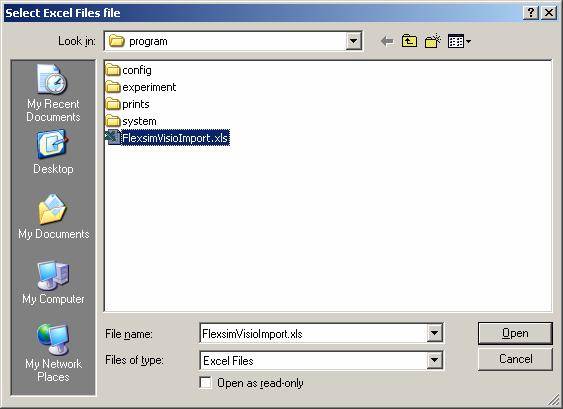
Select the excel file to export to. This should usually be C:/ProgramFiles/Flexsim3/program/FlexsimVisioImport.xls.
Type a name into Table Name. This name will be typed again into FlexSim so that it knows which sheet to import from. Remember the name you typed and click Next.
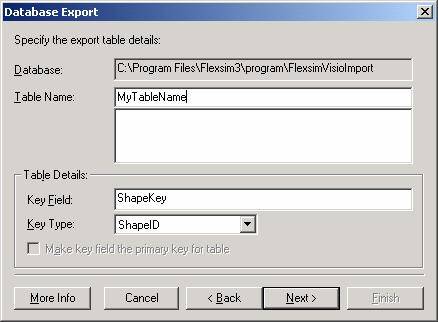
Do not change any values for the data on this screen. Click Next.
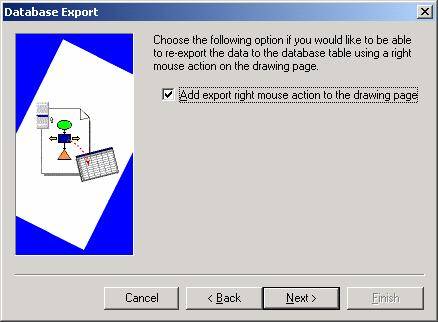
Next.
Finish.

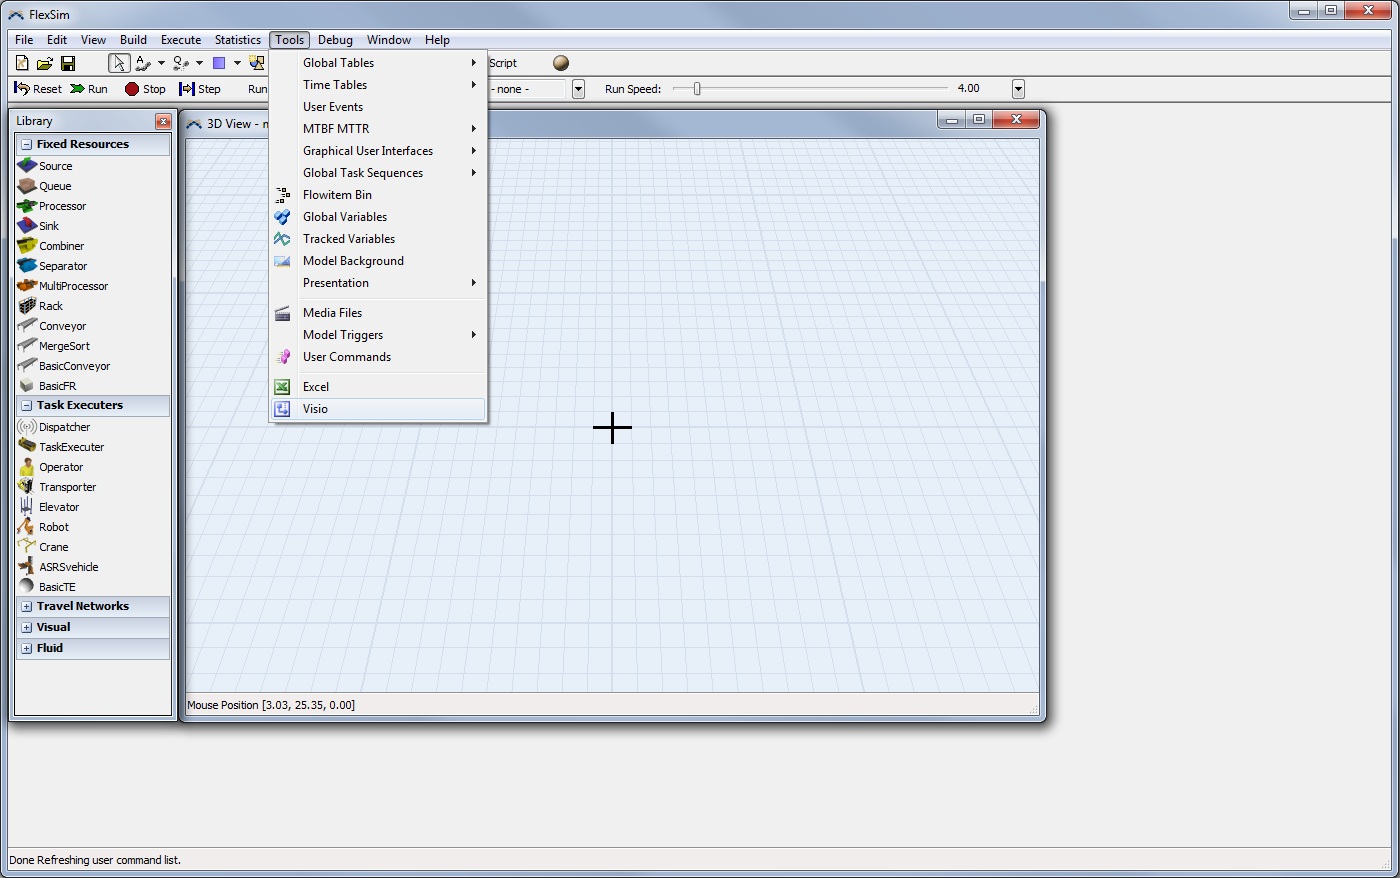
Now, in FlexSim go to Tools, then Visio...
This dialog box will appear.
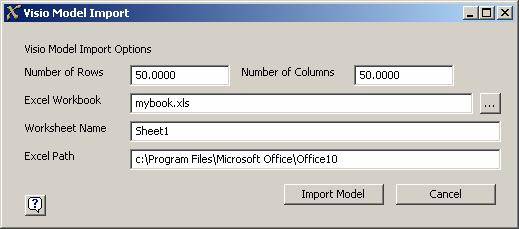
Enter a number into Number of Rows and Number of Columns that is larger than the number of rows and columns in the excel sheet that was just created by Visio Database Export. 50 is usually large enough. If your model does not import correctly, you may need to increase these values after checking your excel sheet to see how large it is.
Click the ... button to browse for the correct excel file to open.
Type the Table Name that was entered earlier into the space for Worksheet Name.
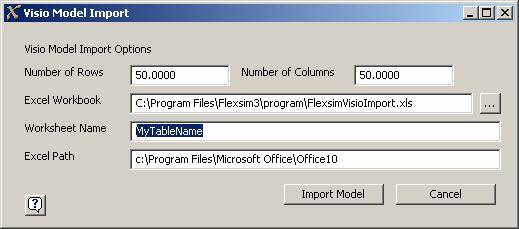
Be sure that the correct Excel Path is specified.
Click the Import button. This message box will appear.
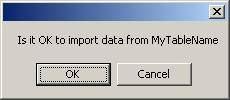
Wait until Excel has completely opened the correct worksheet and then click OK.
The model will then be imported. This may take a few minutes. Wait for the Visio Model Import window to close. Your model will then be imported into FlexSim.