Example Module Class
Overview
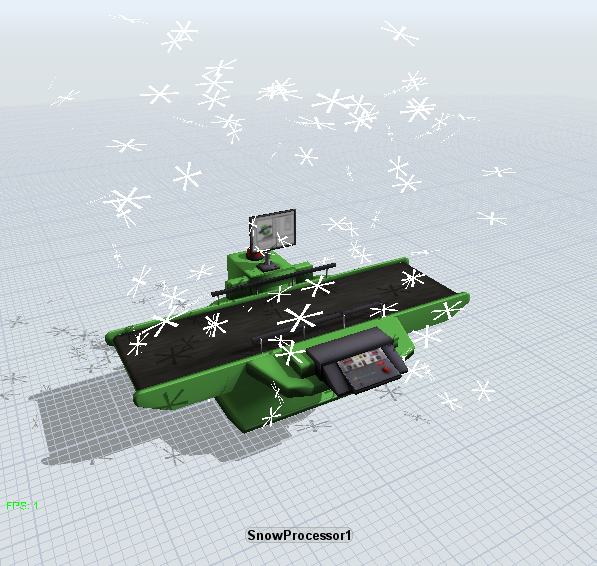
The SnowProcessor is an example class that could be added to a module. It extends the Processor class and modifies its onDraw() method to draw falling Snowflakes (small white triangles) in the surrounding volume. The user can adjust the rate at which the snow falls. The exact position of every Snowflake can be saved as part of the tree.
While this example is more fun than practical, it demonstrates several key module concepts.
Preparation
Before creating this example, be sure to read Flexsim Module Development; it demonstrates how to create a working module. You will need to have a working module in order to use this example. Once you have a working module, follow these steps:
- Add the Snowflake.h file:
- Open the Solution Explorer in Visual Studio
- Right-click the Header Files filter
- Select Add->New Item...
- Select Header File from the list of items to add
- In the Name field, type Snowflake.h
- Click the Add button
- Copy the text of Snowflake.h into the new file.
- Replace [ModuleName] (in
getClassFactory()) with the name of your module
- Add the Snowflake.cpp file:
- Open the Solution Explorer in Visual Studio
- Right-click the Source Files filter
- Select Add->New Item...
- Select C++ File from the list of items to add
- In the Name field, type Snowflake.cpp
- Click the Add button
- Copy the text of Snowflake.cpp into the new file.
- Add the SnowProcessor.h file.
Follow the steps for adding Snowflake.h, but call the file "SnowProcessor.h" and use the SnowProcessor.h source code. Also, you won't need to replace any text in this file.
- Add the SnowProcessor.cpp file.
Follow the steps for adding Snowflake.cpp, but call the file "SnowProcessor.cpp" and use the SnowProcessor.cpp source code.
- Register the SnowProcessor class:
- Open your module's main cpp file (called [ModuleName].cpp)
- Be sure to
#include "SnowProcessor.h" - Insert this code into the
createodtderivative(notcreatesdtderivative) function (before thereturnstatement):if (strcmp(classname, "SnowProcessor") == 0) return new SnowProcessor();
- Register the Snowflake class:
- Open your module's main cpp file (called [ModuleName].cpp)
- Insert this code into the
createsdtderivativefunction (before thereturnstatement):if (strcmp(classname, "Snowflake") == 0) return new Snowflake();
- Build your module and open FlexSim (or reload the DLLs).
- In the MAIN:/project/library/fixedresources tree, copy the Processor node to a new node
- Add the new node to your module as an addition node.
- Change the name of the node to "SnowProcessor."
- Change the sub-node of the "classes" attribute from Processor to [moduleName]::SnowProcessor.
- Change the sub-node of the "superclasses" attribute from FixedResource to Processor.
- Clear the contents of these attribute nodes:
- variables
- stats
- behavior
- Add these nodes into the variables attribute:
- A node called "rate" with number data, value 0.5
- A node called "flakeCount" with number, value 100
- Add these nodes into the stats attribute:
- A node called "lastFallTime" with number data, value 0
- A node called "flakes" with no data
- Save the defaults using the custom toolbar button.
- Drag and drop a SnowProcessor into a model.
When a SnowProcessor is first created, it won't have any snowflakes. Press reset, and the flakes should appear at the top of the processor. To see the flakes fall, run the model (you may need to add other objects to the model to get it to run).
Extending the Simple Data Type Class
The Snowflake class extends the SimpleDataType class. The SimpleDataType class is simplest object that can be used in FlexSim's tree. It is perfect for representing simple objects, or for situations where you require an object, but you don't need all the overhead of a regular FlexSim object. The TrackedVariable object, for example, extends the SimpleDataType class.
Since the Snowflake class stores relatively few member variables, it can be represented with a SimpleDataType.
bind()
In order for SimpleDataType objects to be stored in the tree, they must implement the
bind() method, and they must call the parent bind() as
part of the implementation.
The Snowflake class binds six doubles. The second parameter in the bindDouble()
function indicates that the class should store the value as a sub node. Usually, if you need
to bind the variable at all, you should make sure that the variable is bound as a subnode.
In general, you should bind member variables with subnodes. However, if the object's state can be saved and loaded without a value, then you don't need to bind it.
Each SimpleDataType or CouplingDataType class you create must be registered in
createsdtderivative in order to be properly loaded.
Using a NodeListArray
The NodeListArray provides a convenient way to manage a list of objects in FlexSim.
The SnowProcessor uses a NodeListArray to store a list of Snowflake objects. The NodeListArray
can be bound as if it is a treenode. It provides std::vector-like methods and 0-based index access
for objects store on subnodes. For more types of NodeListArrays, see datatypes.h, and search for NodeListArray.
Using a Mesh
The Mesh class allows you to create a geometric mesh, for graphics purposes. The SnowProcessor uses a single mesh to draw each Snowflake object. Notice that the mesh is not bound. Instead, the SnowProcessor uses a boolean member variable (constructed with a false value) to indicate whether the mesh has been built. In general, you shouldn't build the mesh each time you need to draw. Each SnowProcess object only builds the mesh once, and only if it is needed. While it is possible to bind a mesh, many FlexSim objects use the pattern described here.
Extending a Library Object
You can extend regular library objects. The SnowProcessor, while functionally identical to the regular Processor, demonstrates some of the important points about extending a FlexSim object.
bindVariables()
Like the SimpleDataType bind() method, bindVariables() allows you to bind nodes in the tree to your object's variables. Also, you should call the parent class' bindVariables() method. However, you cannot use bindDouble() or bindObjRef or any typed bind function. Instead, variables are bound using bindVariable().
You can also use bindStateVariable(). This second function is identical to the first, except that variables bound this way will be placed in the stats node in the object, rather than in the variables node. The variables node, then, can be used for input or configuration values. Any other state data can be stored in stats.
For more information on bindVariables(), see the FlexsimObject class.