Maptiler
Overview and Key Concepts
This page describes how to integrate Maptiler with FlexSim GIS by creating a Maptiler account, selecting a map or tile source, retrieving an access key, building the tile URL, and applying that URL in the GIS Navigator.
Maptiler Account Setup
Follow these steps to create an account and obtain the values required by the GIS Navigator:
Step 1: Visit Maptiler
Open your browser and go to the official Maptiler website.
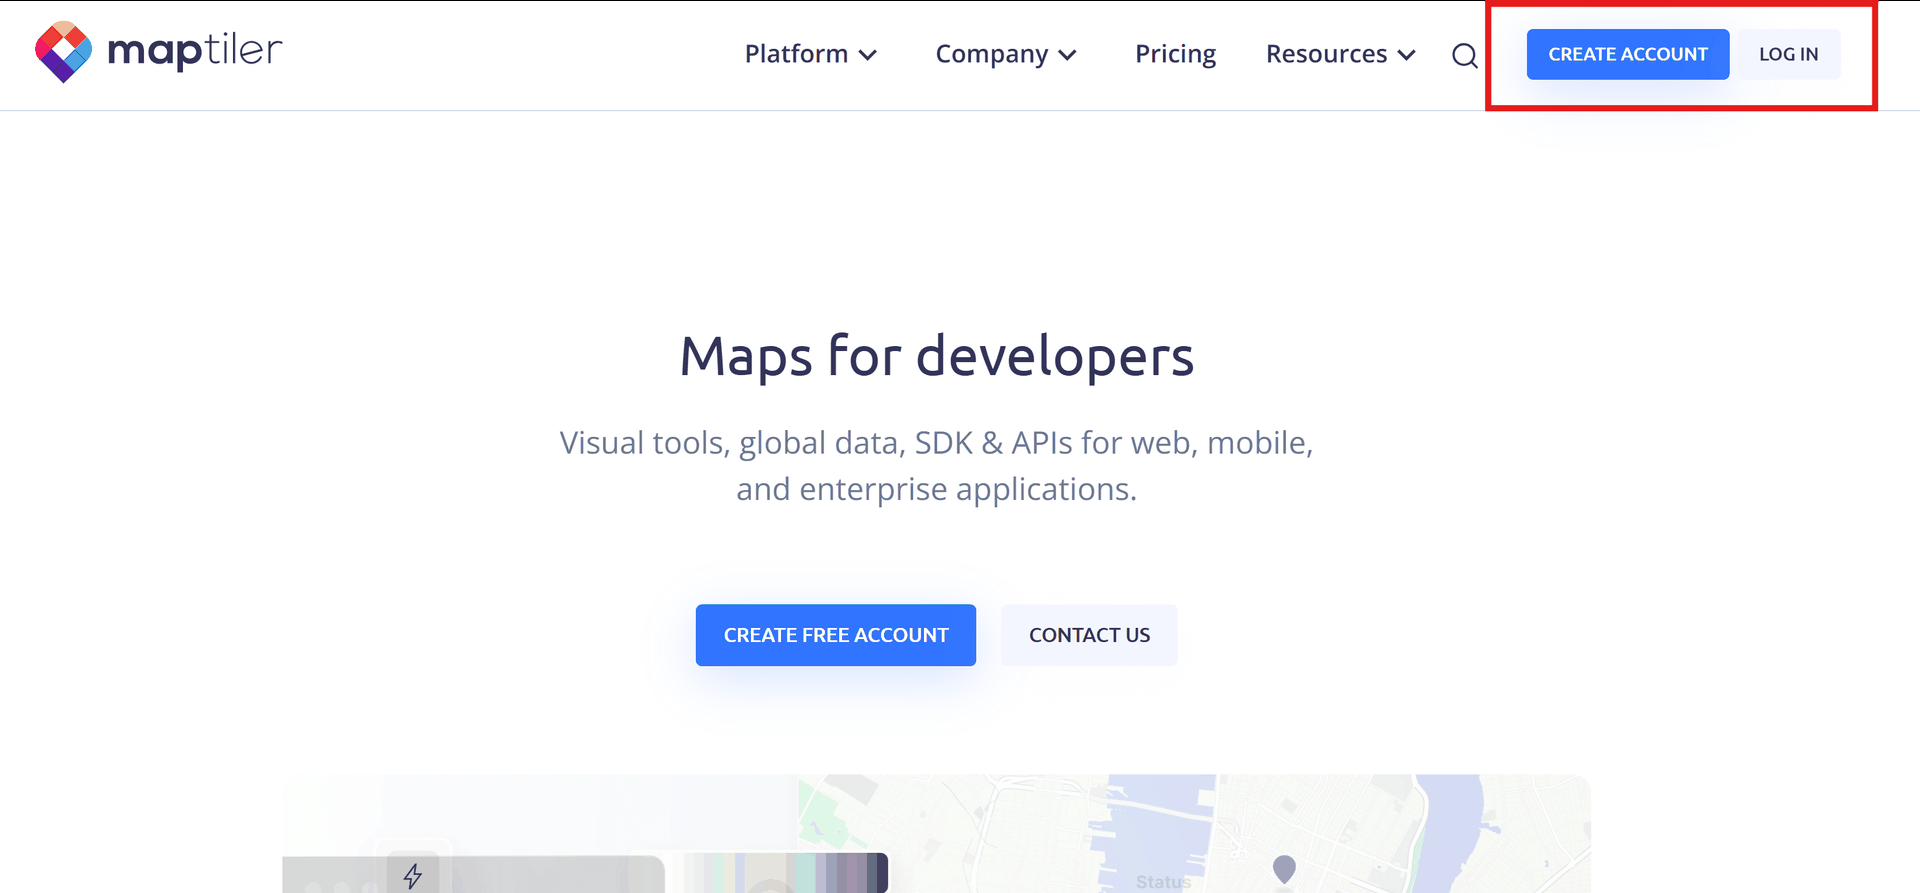
Step 2: Navigate to Sign Up
Choose Create Account if you do not have an account, or Log In if you already do.
Step 3: Fill in account details
Create a free account using email/password or a supported social login.
Step 4: Verify your email
Open the verification message from Maptiler and activate your account.
Step 5: Sign in
Sign in to access the Maptiler dashboard and map/tile resources.
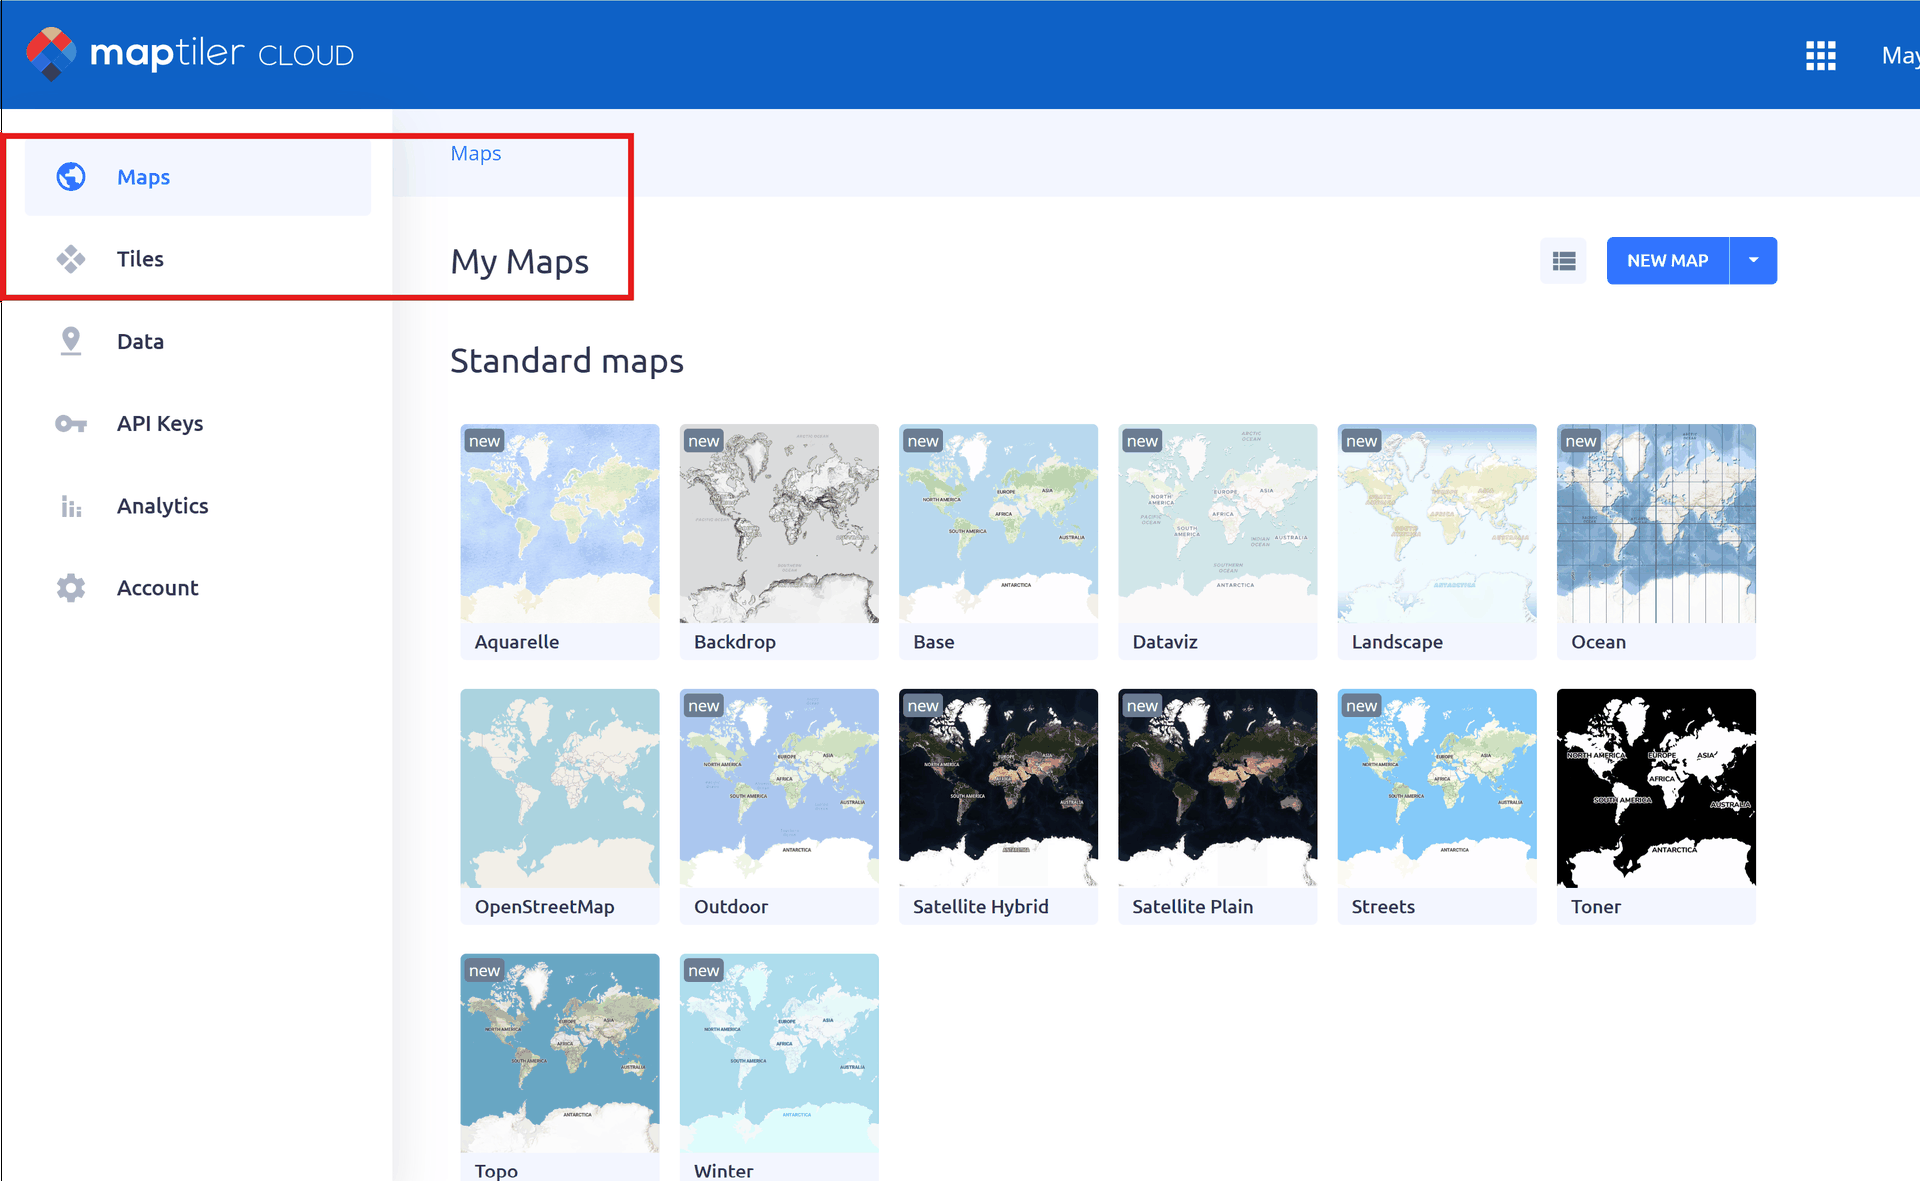
Step 6: Open Maps or Tiles
Navigate to the Maps or Tiles area in your Maptiler dashboard.
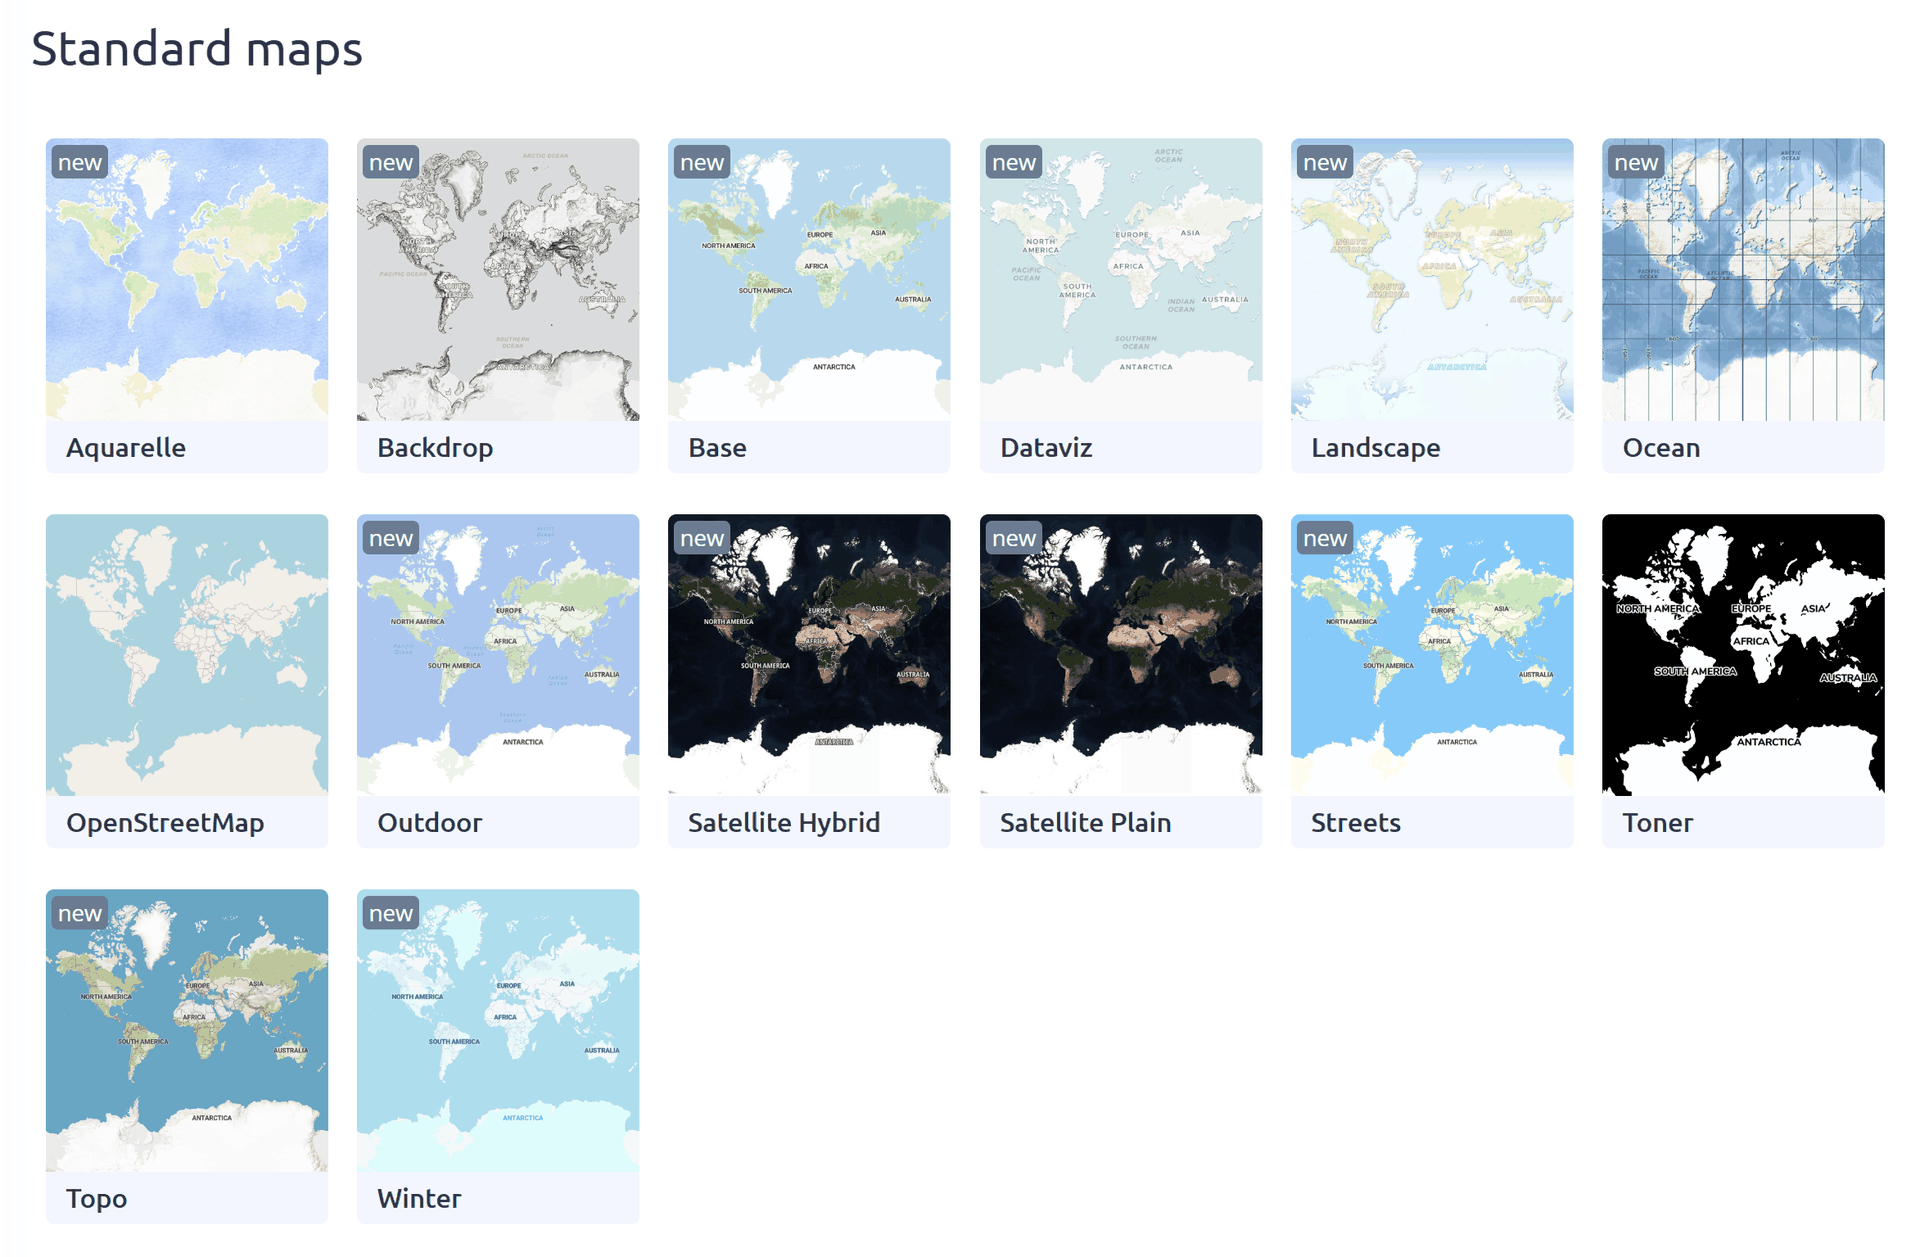
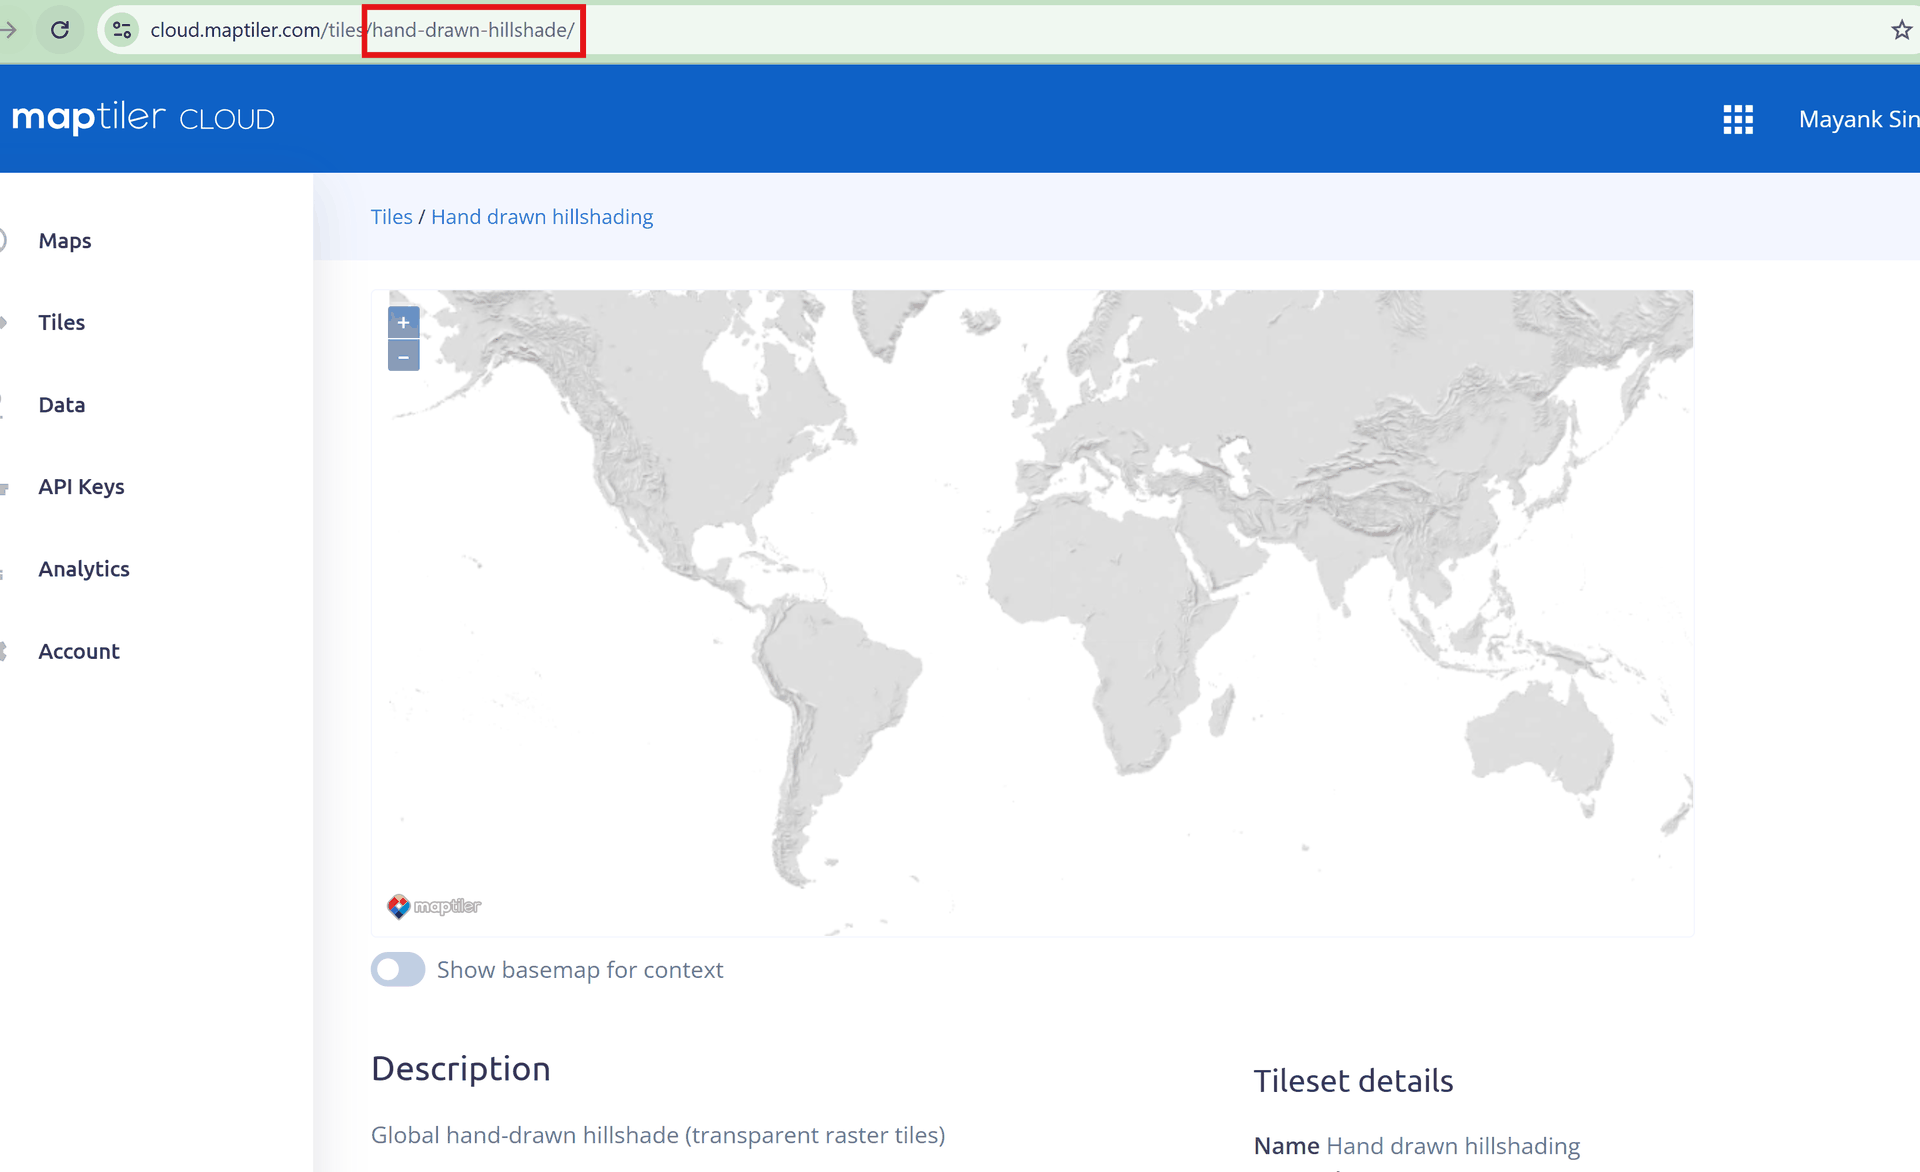
Step 7: Select style or tile set
Select the map style or tile set you want to use in FlexSim.
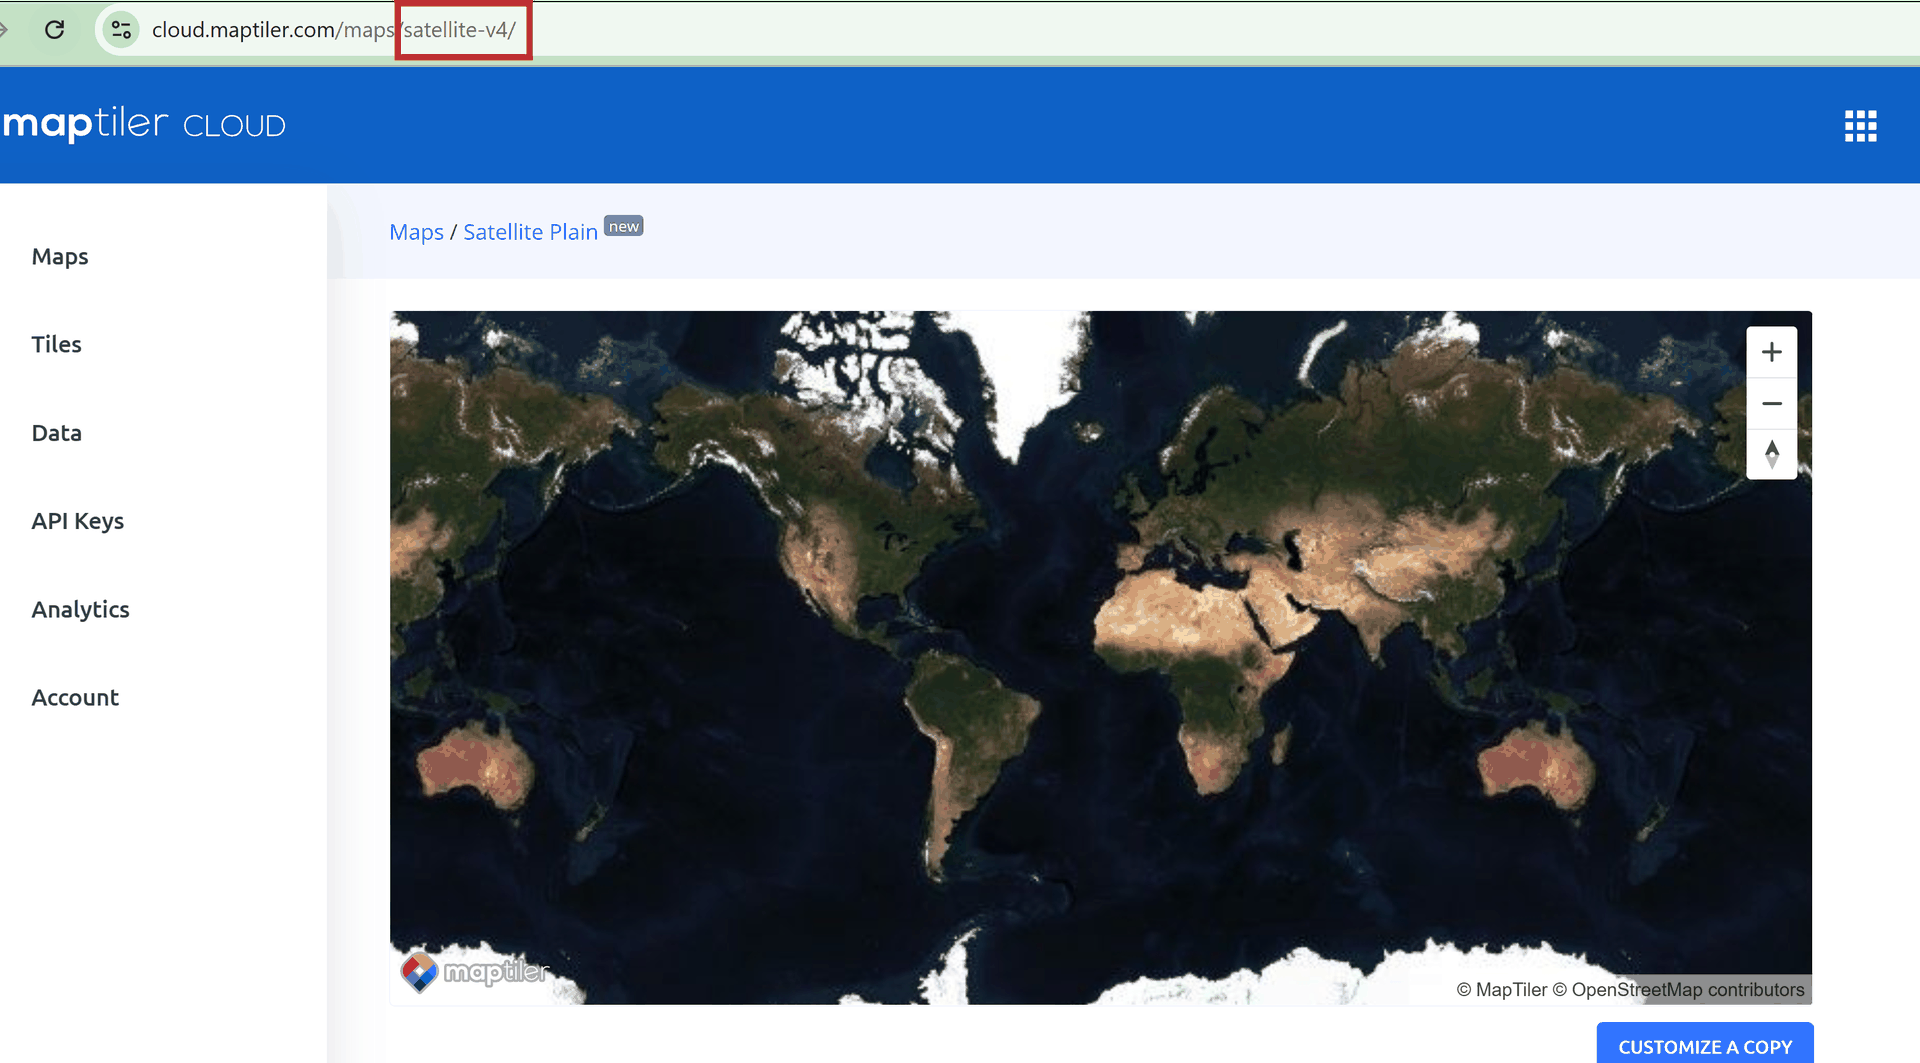
Step 8: Copy map/tile name
Copy the map or tile identifier from Maptiler.
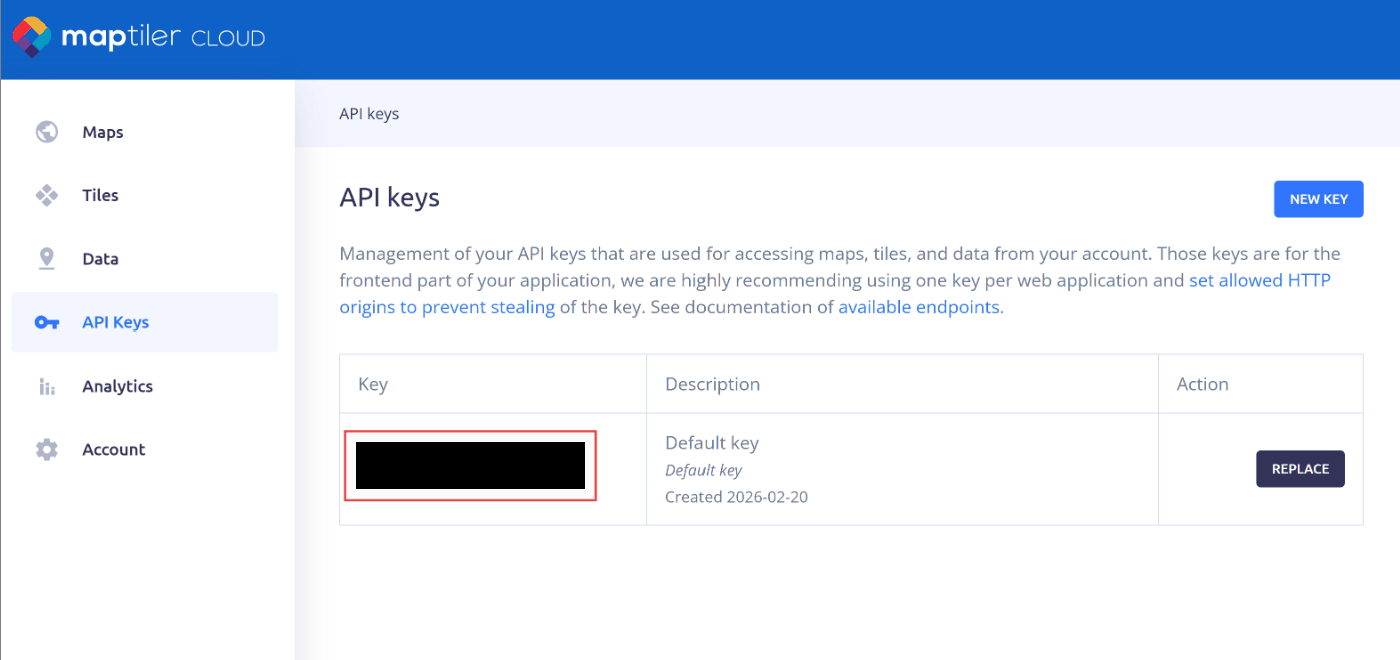
Step 9: Retrieve access key
Copy the access key from your account dashboard.
API URL Construction
Step 10: Build the API URL
Construct a URL using your selected map/tile name and your access key.
Map API:
https://api.maptiler.com/maps/<map-name>/256/{z}/{x}/{y}.png?key=<access-key>For example, the satellite map style uses this URL pattern (replace the key with your own access key):
https://api.maptiler.com/maps/satellite-v4/256/{z}/{x}/{y}.png?key=KFXXXXXXXXXXXXXXXXXXXX
Tiles API:
https://api.maptiler.com/tiles/<tile-name>/{z}/{x}/{y}.pbf?key=<access-key>For example, the satellite tiles style uses this URL pattern (replace the key with your own access key):
https://api.maptiler.com/tiles/satellite-v2/{z}/{x}/{y}.pbf?key=KFXXXXXXXXXXXXXXXXXXXX
Use in FlexSim GIS Navigator
Step 11: Open GIS tool
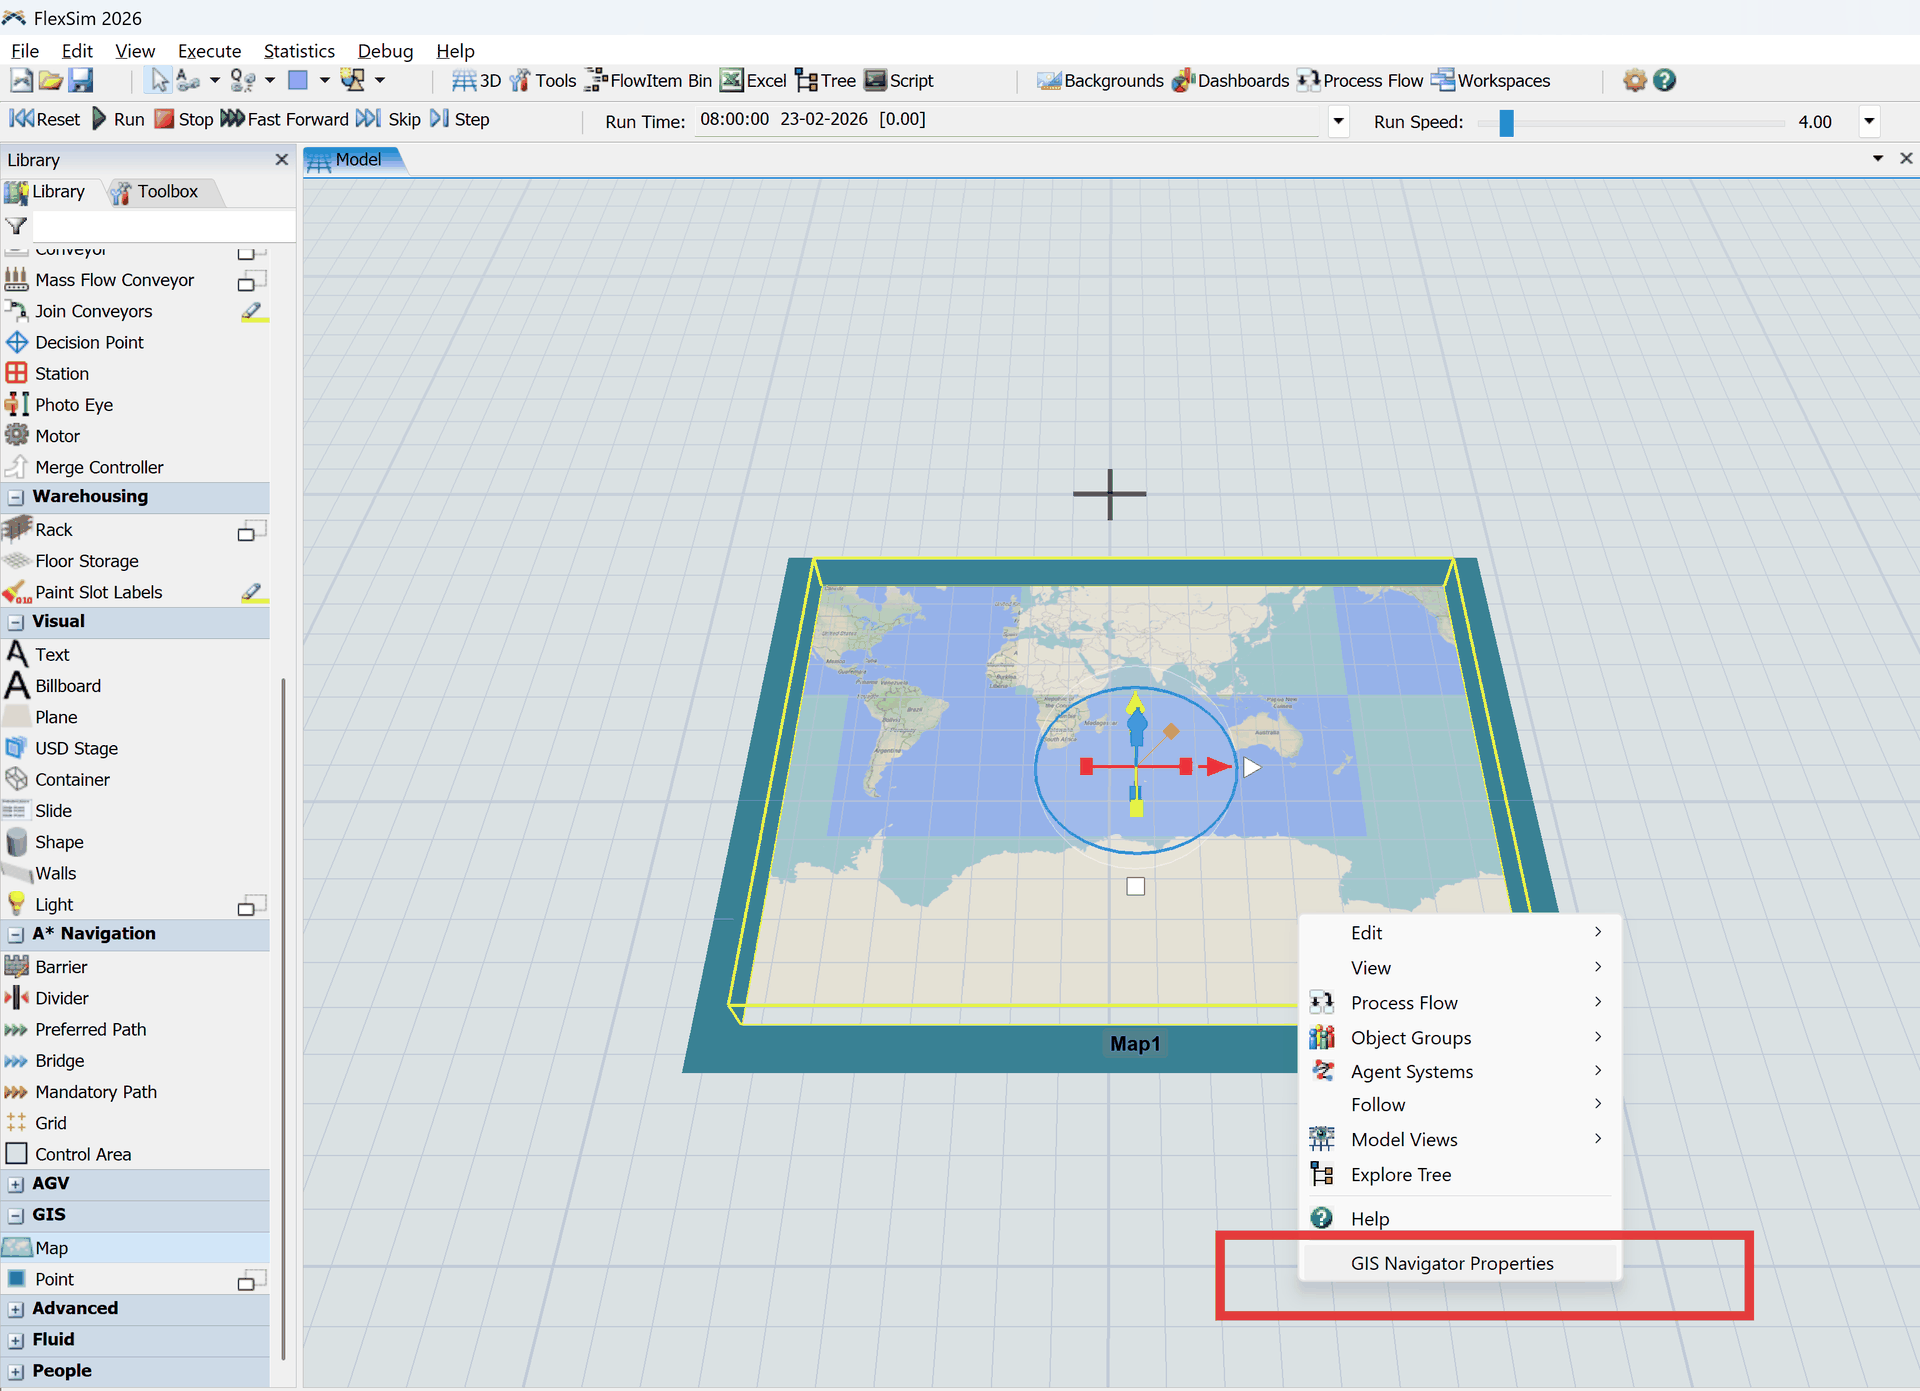
In FlexSim, scroll to the bottom of the left panel and open the GIS option.
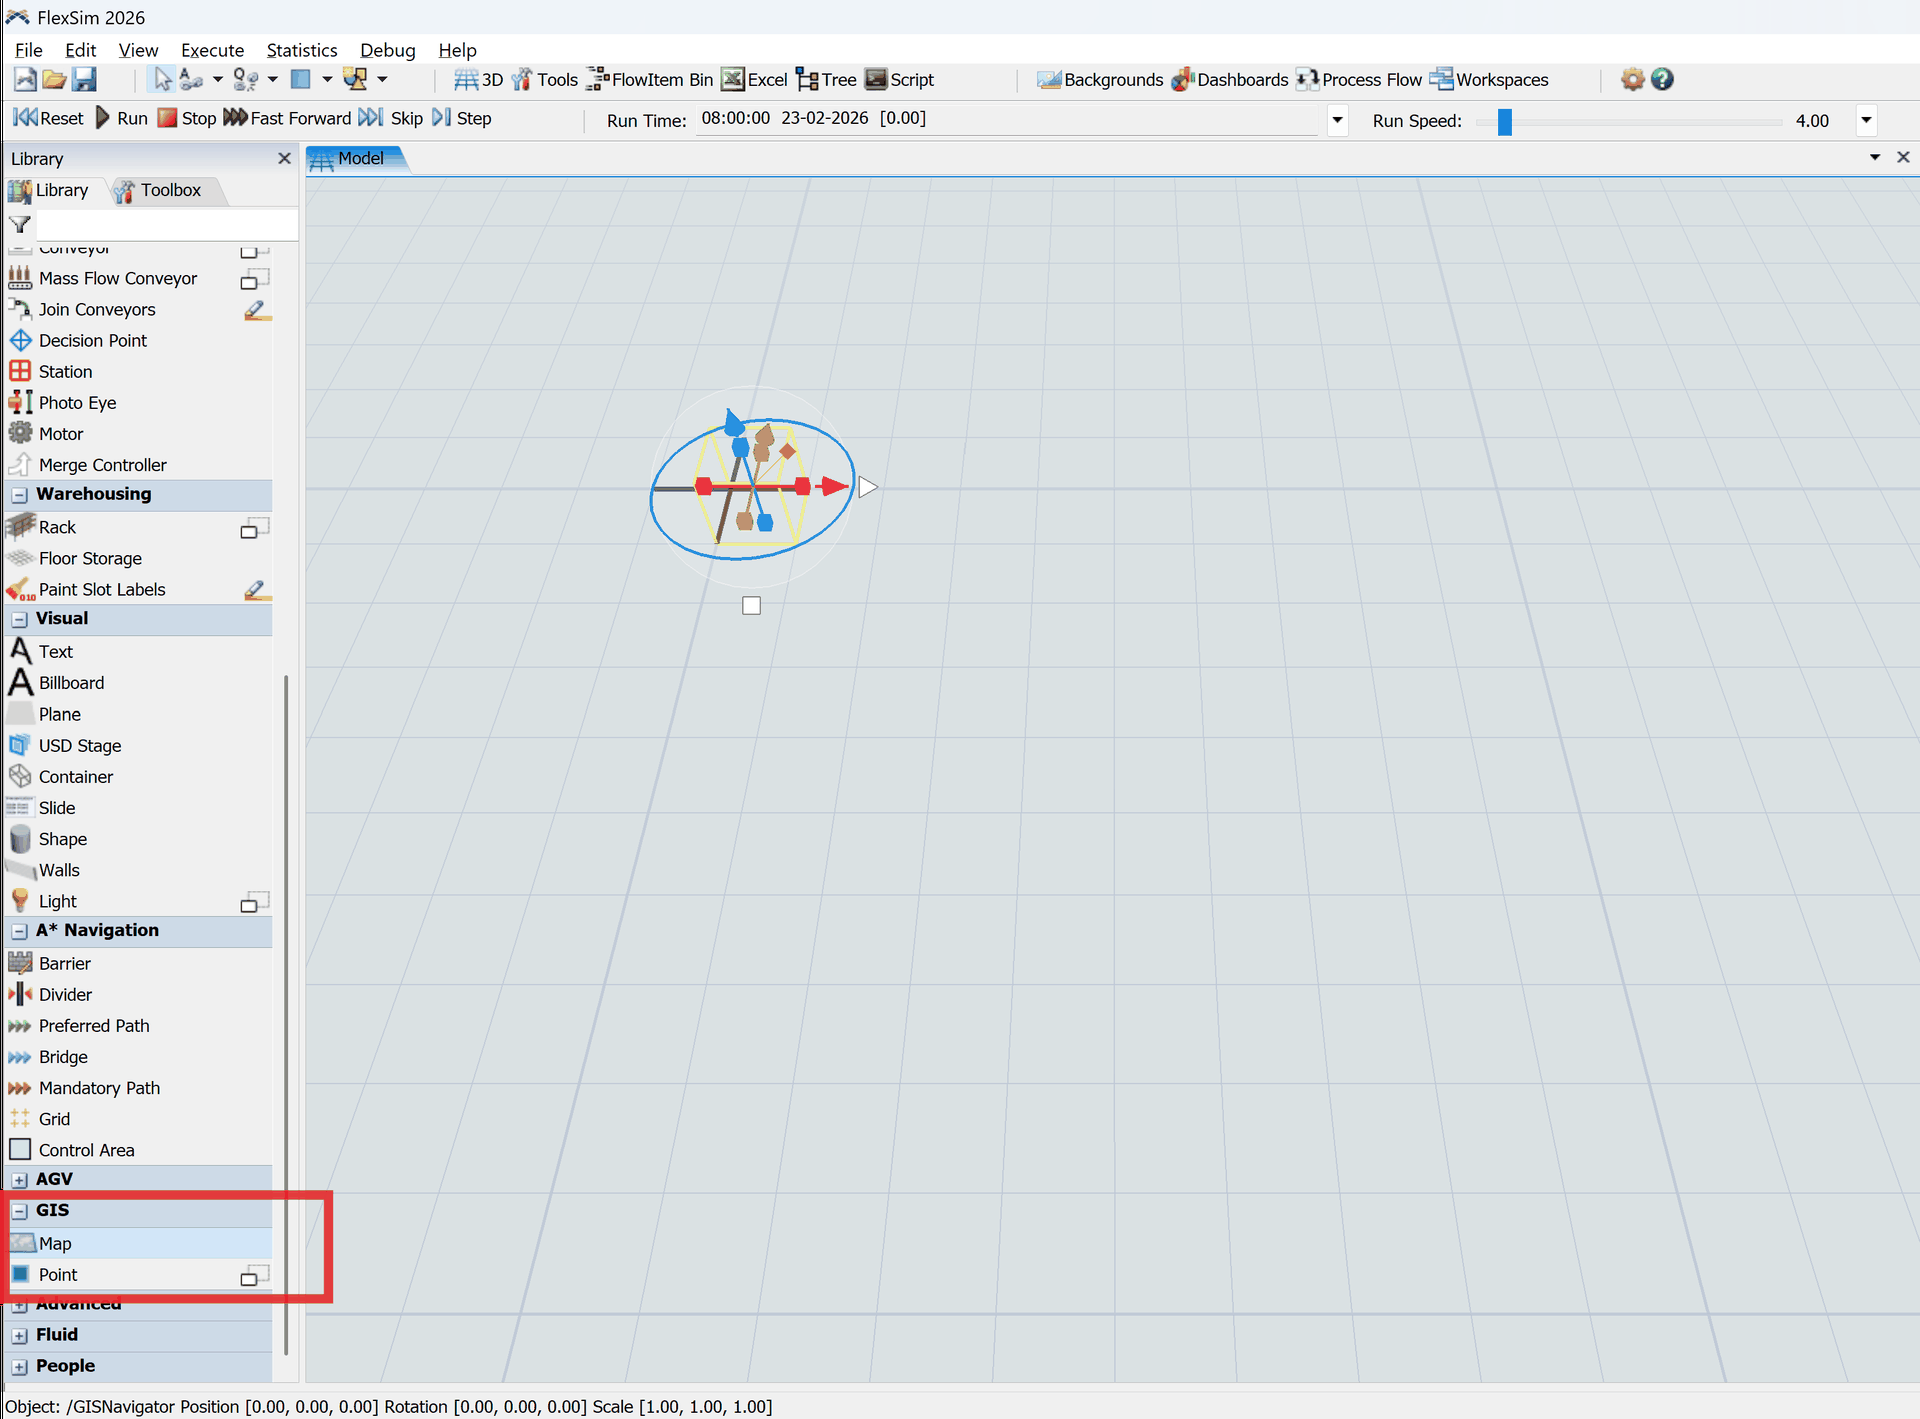
Step 12: Add a Map object
Drag a Map object into the 3D model view.
Step 13: Open GIS Navigator Properties
Right-click the object and choose GIS Navigator Properties.
Step 14: Paste server URL
Paste the Map API or Tiles API URL into the server URL field, then click Apply and OK.
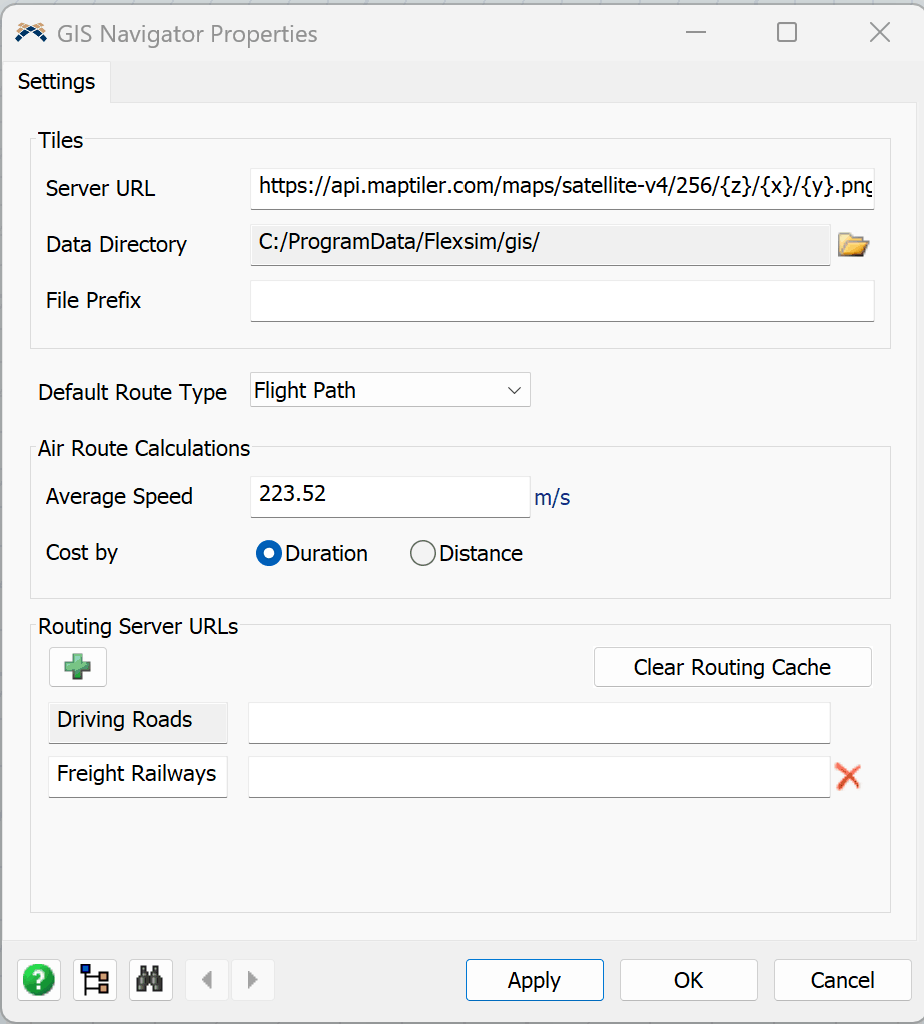
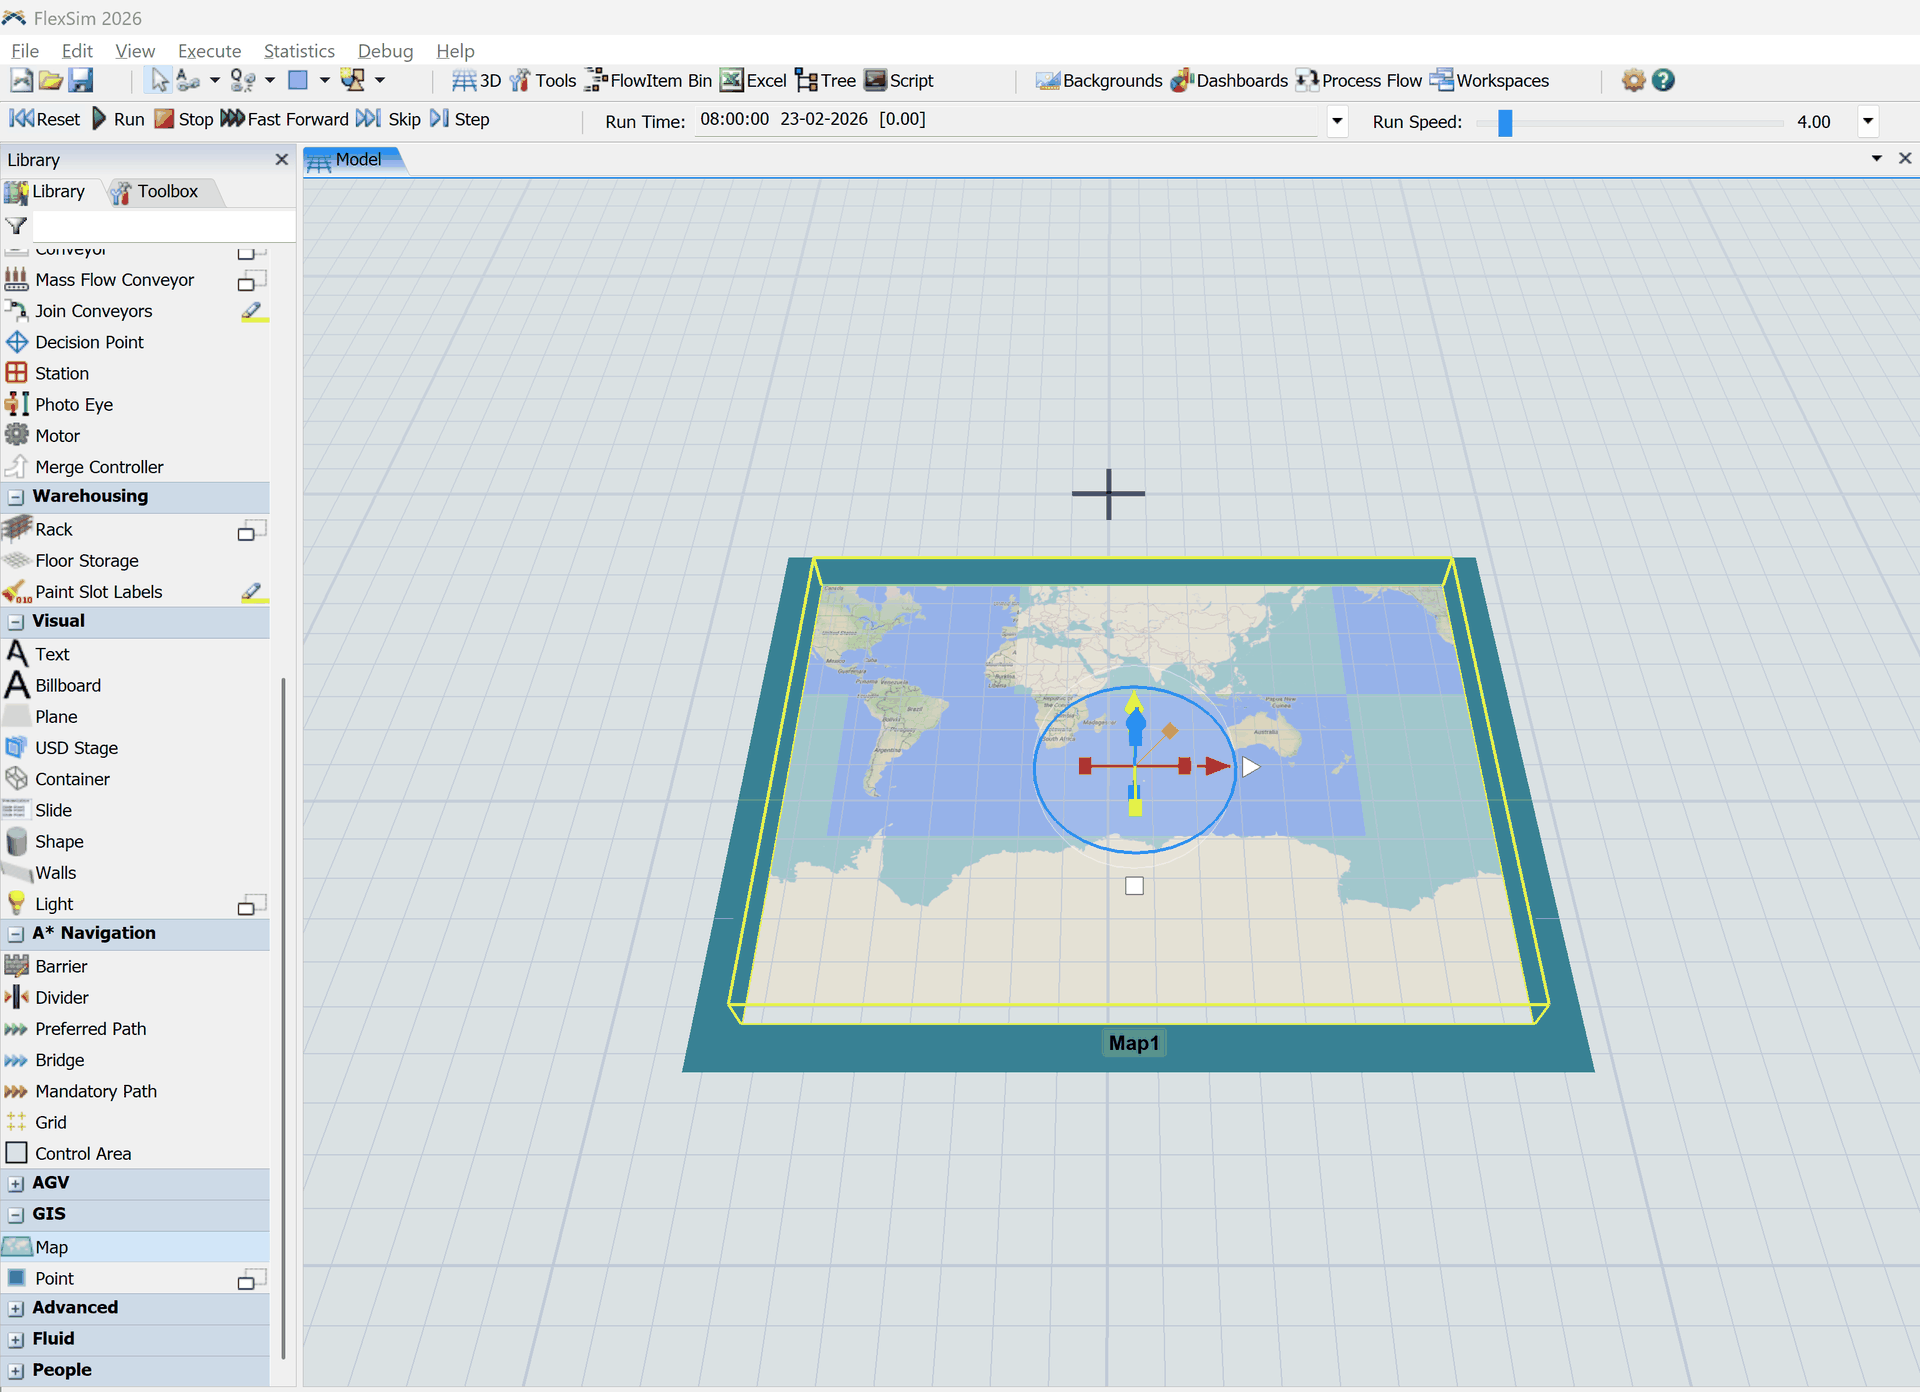
Step 15: Validate map display
The selected map should now appear in the GIS map view.