Task 1.1 - Inline Splitting and Blending
Task Overview
In this tutorial task, you will build a basic FloWorks model that introduces some of the core fluid objects. You will learn about the two ‘flow rules’: preferred flow, which is similar to the ‘send to first available port’ of fixed resources, and balanced flow, which will maintain a fixed ratio between flows through different ports.
Step 1 Start
Create a new model and add the following objects from the FloWorks section of the drag-drop library: a flow source, a flow processor (if you click the object in the library, you can choose either a pump or a valve; these are functionally identical) and two flow tanks (you can choose any visualization).
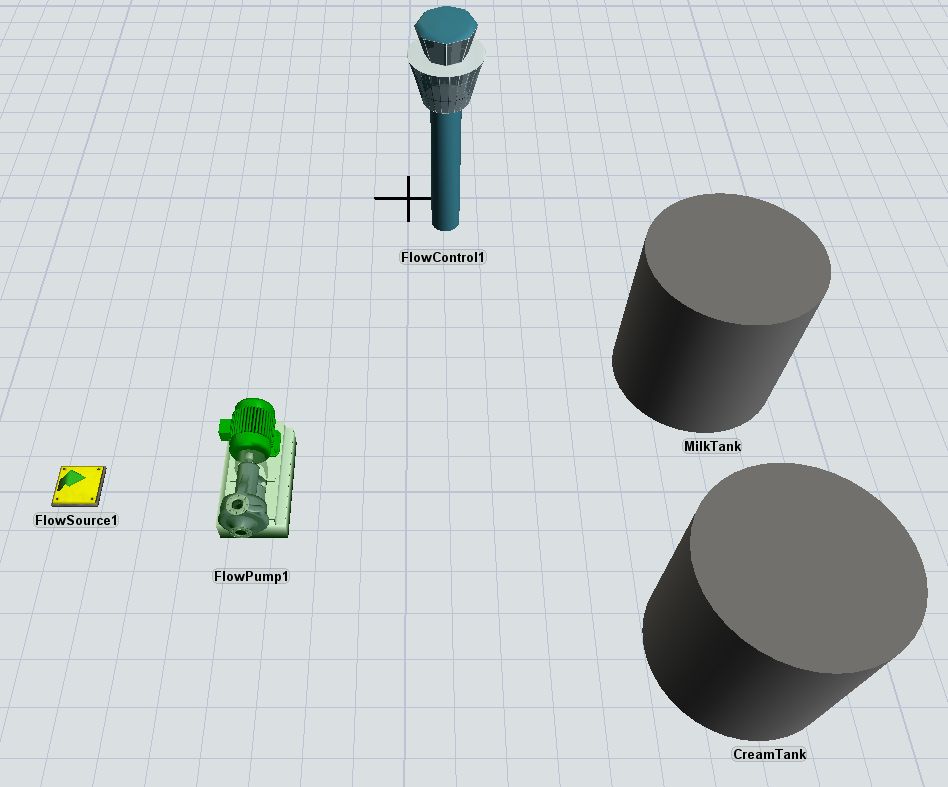
Note that as soon as you add the first object to the model, FlexSim automatically creates another object called a flow control. All the objects that form a fluid network together need to be registered to a flow control. Whenever something happens that may change the flow rates in the model, such as a connection opening or closing, a flow capacity changing or a tank becoming full or empty, all the flow rates will be recalculated. The flow control will do this by building up a mathematical model of the connections between all flow objects and optimizing this to maximize the flow through the system. For now, you need not worry about this because all objects you create in the model will automatically link to the flow control.
Click on one of the tanks and change the following properties:
- Change the name to MilkTank.
- Change the maximum content to 30,000 liters.
On the other tank, change the properties as follows:
- Change the name to CreamTank.
- Change the maximum content to 1,500 liters.
- Change the product type of the tank to 2.
On the flow pump or valve, set the maximum rate to 100 liters per second.
Connect the flow source to the pump, and the pump to both of the tanks.
Run the model and observe the behavior. While the model is running, you can click on the various objects to see some basic statistics.
Step 2 Two different flow rules
Notice that despite the fact that you increased the flow rate on the processor to 100, the actual flow through the system is only 10. By carefully checking the statistics of the objects while the model is running, you will eventually find the culprit: the maximum flow rate that the source produces is still limited to its default value of 10. Despite the fact that the downstream objects have more capacity, the source is constraining the total amount of flow through the system.
Let's rectify this situation by changing the maximum flow rate of the source. Click on the source, and on the Flow Object panel disable the flow rate constraint by selecting the "Unlimited flow" checkbox below the outflow rate field.
Now when you run the model, you will see both tanks filling up, first the milk tank, because we have connected that to the processor first, then the cream tank.
The flow rule we are using is called ‘Preferred order’. It is similar to the ‘Send to first available port’ option in the Send to Port option of Fixed Resources, which you use by default to route flow items. It means that wherever possible, the first output connector will get the maximum flow rate that is permitted by both ends. If the source object has any flow capacity left, it will try to assign as much of that as possible to the second output port, then to the third, and so on. In other words, the higher the output arrow, the higher its priority when dividing all available flow capacity.
You will now learn about the other built-in rule, which specifically models the physical splitting of streams. Two objects that use this rule by default are the Blender and the Splitter. They maintain a fixed ratio between the input or output ports, respectively. Assume that the input stream is split into 93% skimmed milk and 7% fat (cream). Disconnect the tanks from the pump, and add a Splitter object in between. You will find the Splitter object in the library as one of the possible shapes of a Flow Processor.
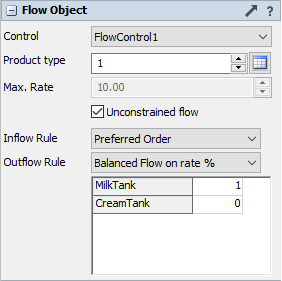
In the properties of the Splitter. Set the Inflow Rate to unlimited. The Outflow Rule should already be set to "Balanced flow on rate %". Enter a ratio of 93% and 7%.
Questions:
- Which flow rates do you expect?
- When you run the model, you can check the result. Does it match your expectations?
Step 3 Creating two products
As the final step in the model, you will output two products based on the available ingredients:
- Skimmed milk (100% from the Milk tank)
- Whole milk (97% regular milk + 3% cream)
Add two new tanks to the model: SkimmedMilkTank and WholeMilkTank. Set their product types to 3 and 4 respectively, and the capacity of both to 10,000 L.
Connect the Milk tank to a flow valve, which connects to the Skimmed Milk tank.
Connect the Milk source at the start of the model and the cream tank to a blender, which connects to the Whole Milk tank. Split the input ports in a ratio of 97 to 3.
Note that the flow valve and blender both have a default limit of 10 L/s. In order to control the flow rate from this single point, set the outflow rate of the Milk Tank and the Cream Tank to "unlimited flow".
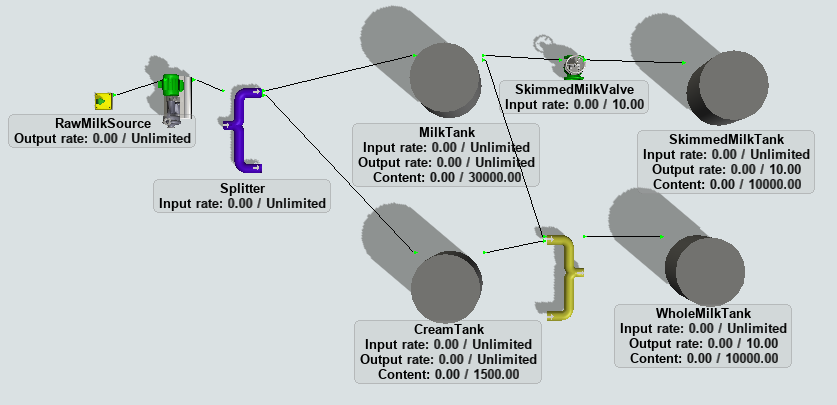
The model should now look like this:
Conclusion
In this task you have learned about inline blending and splitting. In the next tutorial task, you'll learn how to use a flow mixer to create products from predefined recipes. Also, you will learn how to define products by their name instead of a numeric identifier. Continue to Tutorial Task 1.2 - Adding a product table and a mixer.